Workflows (V2)
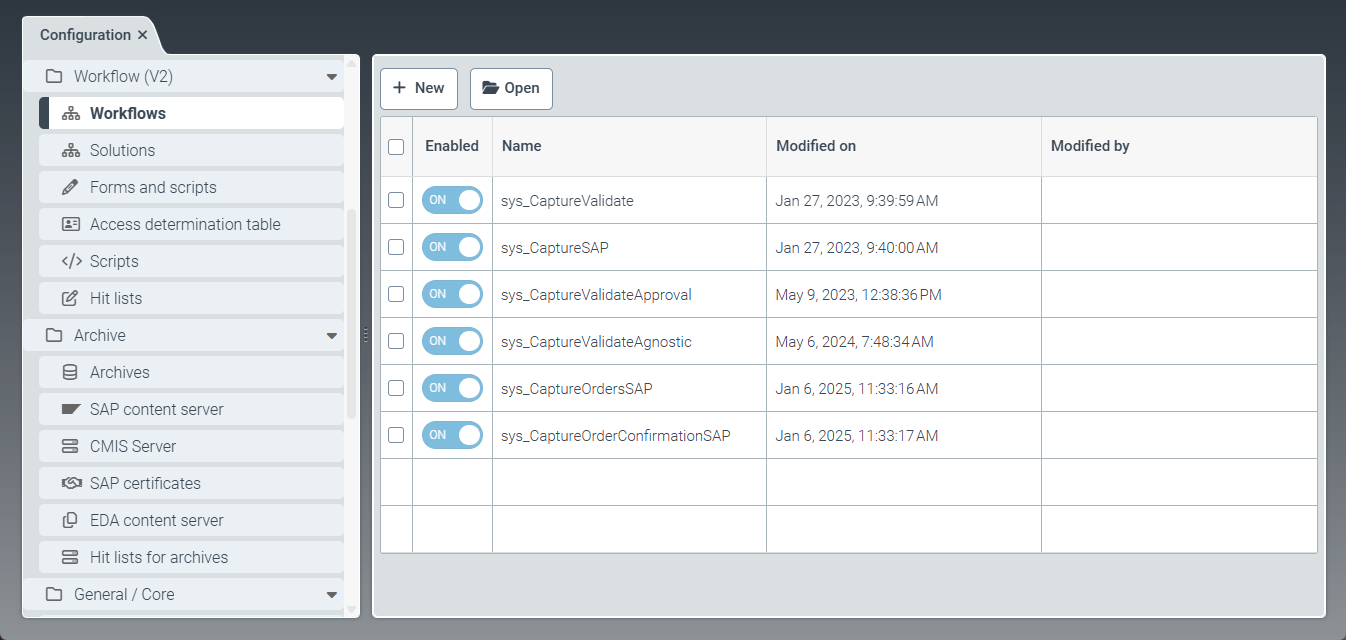 |
The Workflows menu item offers the option to create custom workflows, as well as to copy and edit the workflows that come with the software (prefix sys_). A workflow specifies a sequence of processing steps applied to work items. Each workflow consists of a start node, an end node, and one or more activity nodes.
The start and end nodes indicate the beginning and end of the workflow. Each activity node represents a workflow step. This can either be a workflow step that the system executes automatically in the background or a workflow step that requires the interaction of a user. For information on the different types of activities, see The "Activity" panel (V2).
The following workflows come with the software:
Name | Description |
|---|---|
| Workflow with document extraction and validation |
| Workflow with document extraction, without user interaction |
| Workflow with document extraction, validation and approval |
| Workflow with document extraction for invoices and export to any ERP system (e.g., xSuite Sphere), including rejection and correction steps |
| Workflow with document extraction for incoming orders in SAP Sales |
| Workflow with document extraction for incoming order confirmations in SAP Purchasing |
Creating a workflow (V2)
Select the Workflows menu item, then click New.
➣ The Workflow: New workflow tab will open.
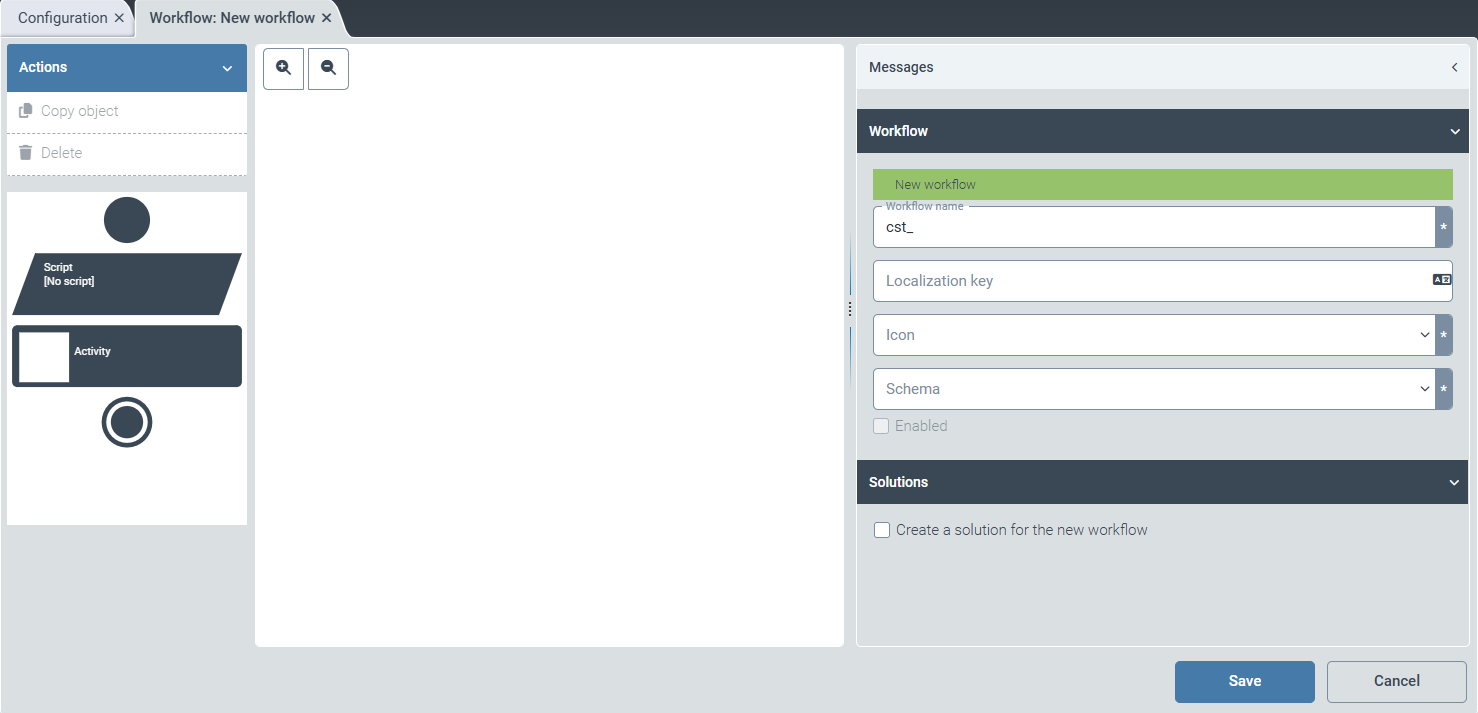
In the Workflow panel, edit the following fields:
Field
Instructions
Workflow name
Enter the technical name of the workflow.
Notice
The technical name comes prepended with cst_. This prefix cannot be deleted.
Localization key
Enter the localization key for the workflow's display name.
To open the Select localization dialog box, click the
 button.
For more information, see Selecting a localization.
Icon
Select an icon key. The icon key determines which icon will represent the workflow.
Upload the icon under the Resources menu item. For more information, see Creating a resource.
Schema
Select a schema. For more information, see Schemas (V2).
In the Solutions panel, select the Create a solution for the new workflow checkbox to automatically create a new Solution for the workflow.
Select one of the following workflow elements:
Element
Description

Creates a start node for your workflow. The start node defines the beginning of the process. Each workflow must contain exactly one start node.
The workflow is initiated either by xSuite Interface Prism or by manually uploading documents. It begins at the defined start node.

Adds a script node to the workflow (optional). A script may contain project-specific data checks, data changes, or workflow decisions.
The element allows creating a new script or selecting an existing one. For more information, see Scripts (V2).
Tip
We recommend not creating a new script in this view. Instead, create a new script using the options in the Scripts menu item, and then select it here.

Adds an activity to the workflow, such as classifying or validating documents.
For more information on the different types of activities, see The "Activity" panel (V2).

Creates an end node for your workflow. Each workflow must contain exactly one end node. The end node marks the completion of the workflow.
Tip
To remove an element, select the element and press Del.
To get a better view of the workflow, use the
 and
and  buttons to zoom in and out.
Drag and drop the selected workflow element in the desired position within the workflow.
Click a workflow element.
➣ Individual panels with setting options for the selected workflow element will open on the right-hand side.
If necessary, edit the data in the following panels:
Tip
Depending on the workflow element selected, either all or only some of the panels will be displayed.
Click Save.
➤ The workflow has been created.
Caution
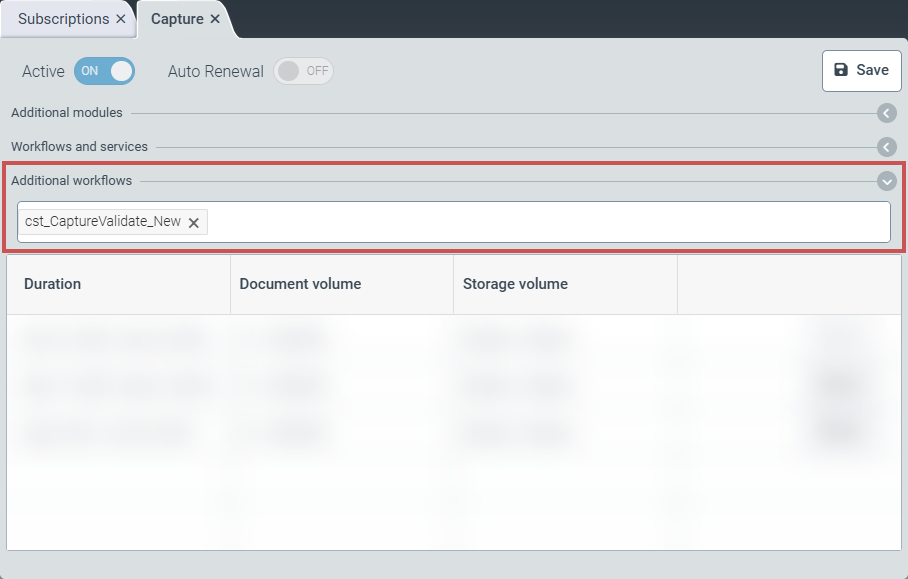
To use the newly created workflow, carry out the following actions in the correct order:
Navigate to the dashboard and click the Subscriptions tile. Then go to Capture → Details → Additional workflows and add the workflow you created.
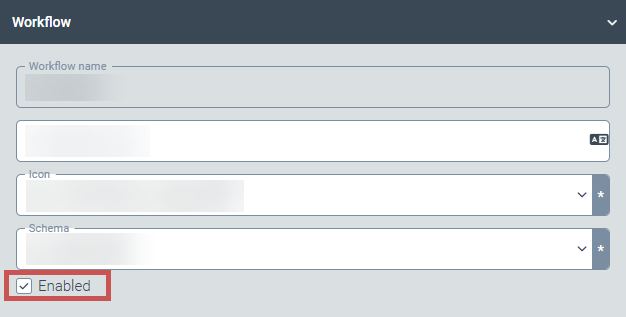
In the Workflow panel, select the Enabled checkbox to activate the workflow.
Assign the workflow to a solution. Either create a new solution or edit an existing solution.
Creating a custom version of a workflow (V2)
Workflows that come with the software cannot be edited. To edit a delivered workflow, a custom version of that workflow must first be created. This custom version can then be edited.
Notice
Workflows that come with the software are identified by the prefix sys_ in the technical name.
Select Workflows, then click a workflow name.
➣ The Workflow: {Workflowname} tab will open.
In the action menu, click Create custom version.
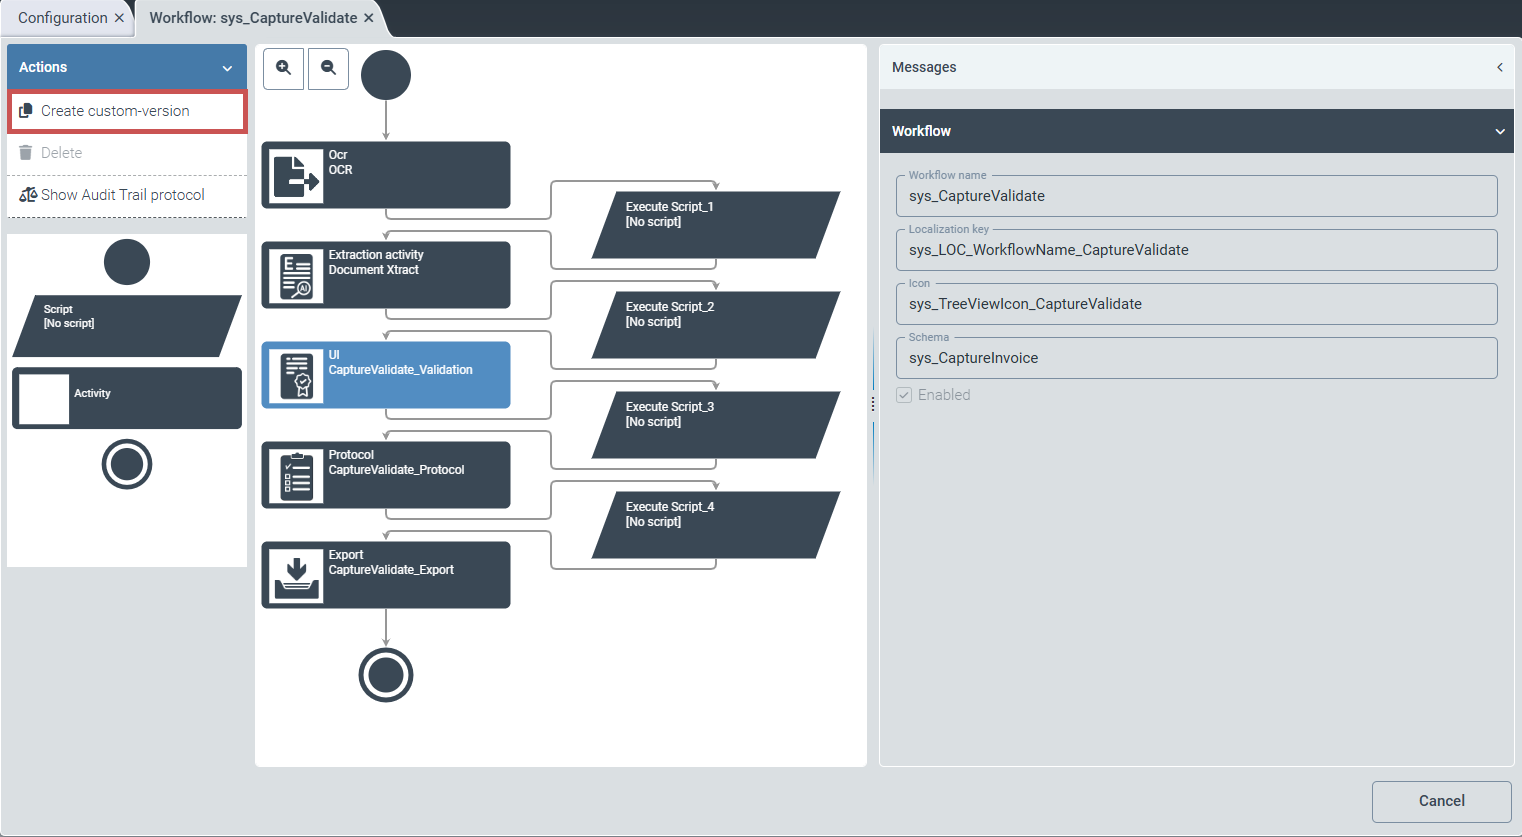
➣ The New workflow message will be displayed. The prefix of the workflow name has automatically changed from sys_ to cst_.
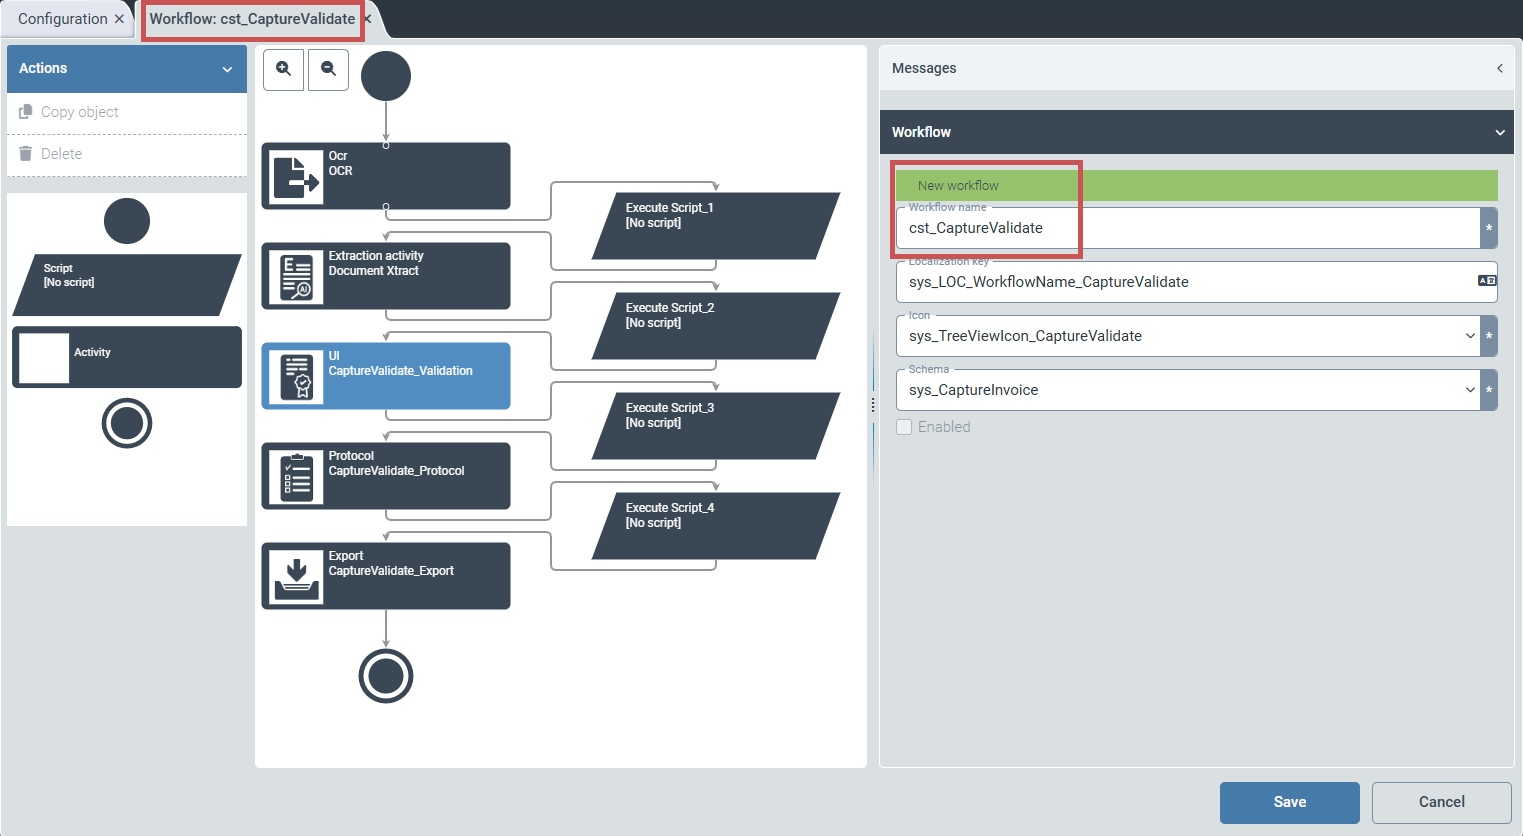
If necessary, change the name of the workflow in the Workflow name field.
Notice
The technical name comes prepended with cst_. This prefix cannot be deleted.
Click Save.
➤ The custom version of the workflow has been created. The workflow can be edited.
Editing a workflow (V2)
Select Workflows, then click a workflow name.
➣ The Workflow: {Workflowname} tab will open.
Select one of the following workflow elements:
Element
Description
Creates a start node for your workflow. The start node defines the beginning of the process. Each workflow must contain exactly one start node.
The workflow is initiated either by xSuite Interface Prism or by manually uploading documents. It begins at the defined start node.
Adds a script node to the workflow (optional). A script may contain project-specific data checks, data changes, or workflow decisions.
The element allows creating a new script or selecting an existing one. For more information, see Scripts (V2).
Tip
We recommend not creating a new script in this view. Instead, create a new script using the options in the Scripts menu item, and then select it here.
Adds an activity to the workflow, such as classifying or validating documents.
Creates an end node for your workflow. Each workflow must contain exactly one end node. The end node marks the completion of the workflow.
Tip
To remove an element, select the element and press Del.
To get a better view of the workflow, use the
and buttons to zoom in and out.Drag and drop the selected workflow element in the desired position within the workflow.
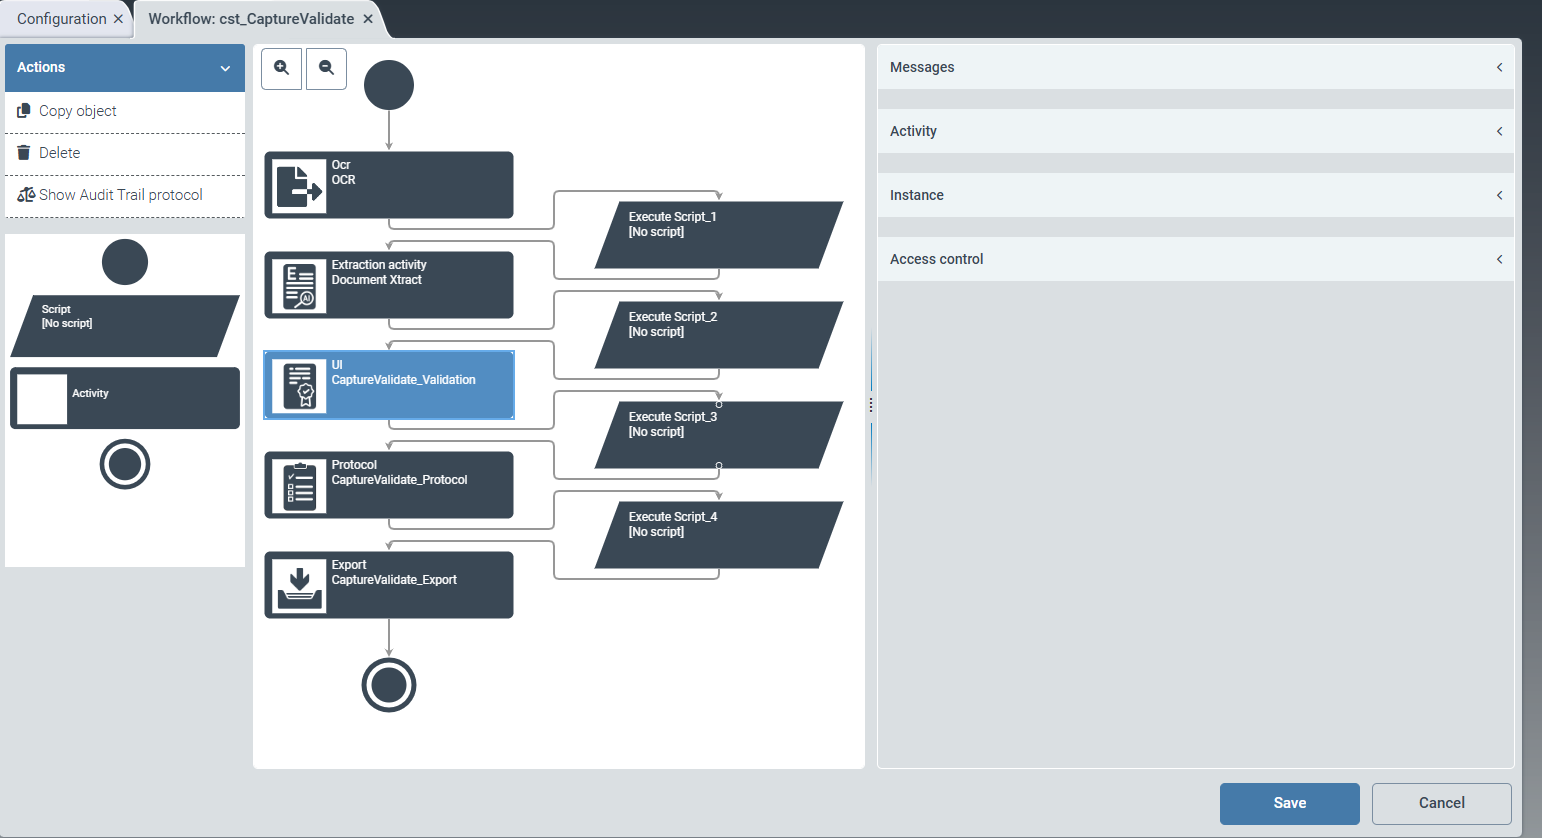
Click a workflow element.
➣ Individual panels with setting options for the selected workflow element will open on the right-hand side.
If necessary, edit the data in the following panels:
Tip
Depending on the workflow element selected, either all or only some of the panels will be displayed.
Click Save.
➤ The workflow editing is complete.
The "Messages" panel (V2)
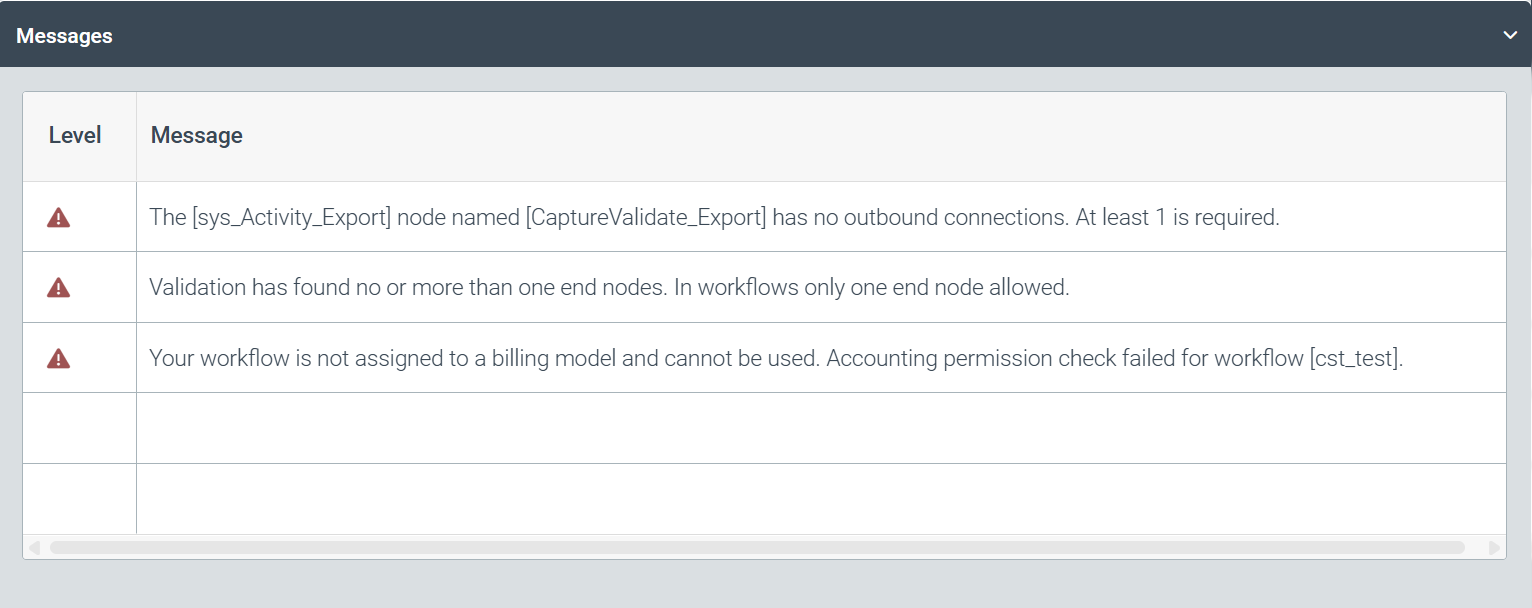 |
The Messages panel displays messages created when the workflow cannot be activated or saved. Such messages may be caused by missing licenses or workflow nodes, for example.
The "Start node" panel (V2)
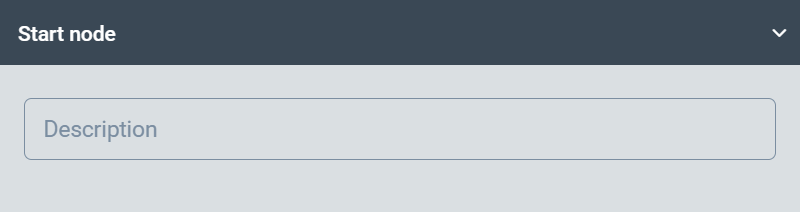 |
The Start node panel contains the description of the start node of a workflow. The description cannot be edited.
The "End node" panel (V2)
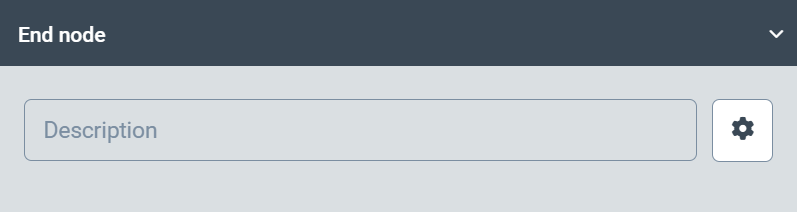 |
The End node panel contains the description of the end node of a workflow. The description cannot be edited.
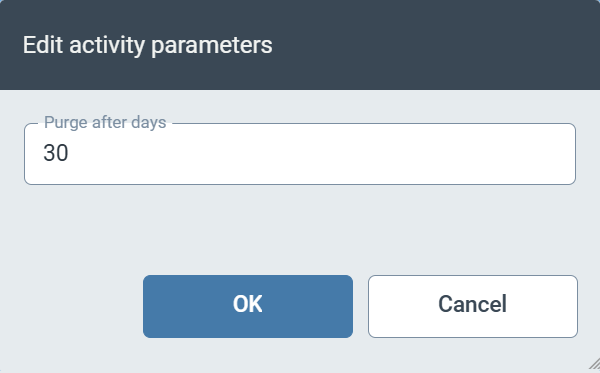
Clicking  Settings opens the Edit activity parameters dialog box. In this dialog box, the retention period for completed work items can be defined in the Purge after days field. For example, enter
 30 for a retention period of thirty days after the end of the workflow.
 |
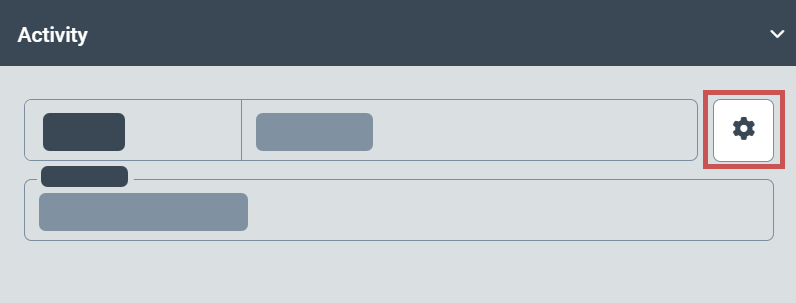
The "Activity" panel (V2)
The Activity panel contains the name and parameters of an activity node. A workflow typically consists of multiple activity nodes. Each node carries out a specific activity, such as classifying or validating documents. The type of activity carried out depends on the type of activity node. The following types of activity nodes are available:
Type | Description |
|---|---|
Archive | Storage of workflow content (data and attachments) in an archive |
UI | Workflow step with user interaction |
OCR | OCR document extraction |
Extraction | Data extraction |
SAP Viewer Converter | Creation of the document view for the xSuite Viewer in xSuite Cube products The data obtained from the extraction is integrated into a special XML file used in xSuite Cube to highlight information in the xSuite Viewer. |
Protocol | Logging |
Activity parameters
Depending on the type of activity node, various parameters are available. These parameters can be used to configure how the activity node works. To open the parameters of an activity node, click  Settings.
 |
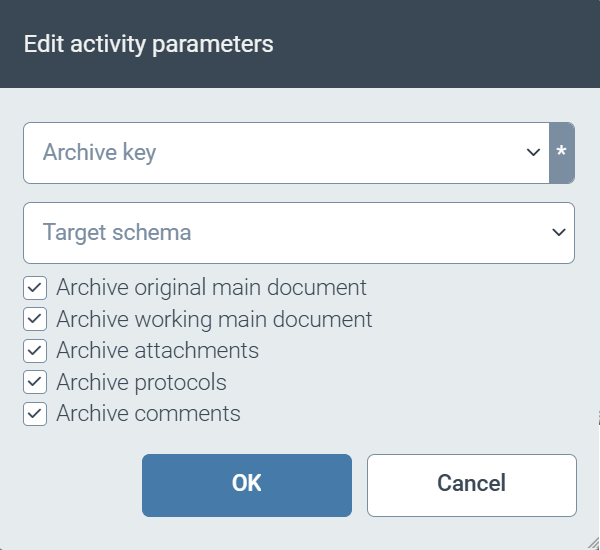 |
Field | Description |
|---|---|
Archive key | Specifies the Helix archive that is used for archiving. All archives created under the Archives menu item are available for selection. |
Target schema | Specifies the target schema for archiving. TipAs the target schema, you usually select the schema of the workflow. Alternatively, a different schema can be selected provided that it is compatible and includes all workflow fields. |
Archive original main document | Determines whether the original document is archived. |
Archive working main document | Determines whether the working document is archived. |
Archive attachments | Determines whether file attachments are archived. |
Archive protocols | Determines whether logs are archived. |
Archive comments | Determines whether comments are archived. |
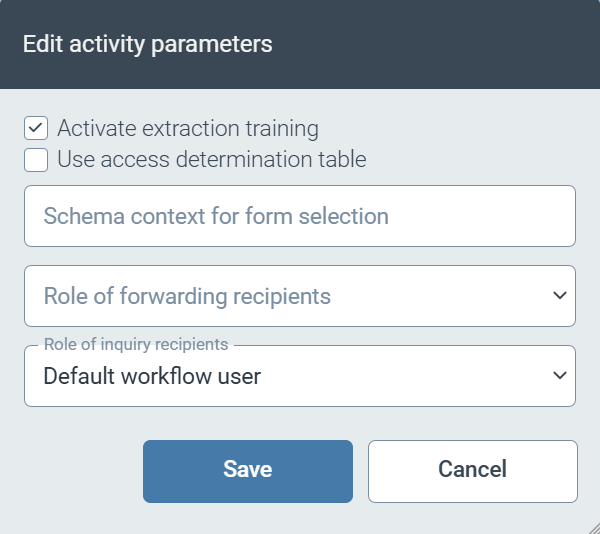 |
Field | Description |
|---|---|
Activate extraction training | Determines whether the data in this workflow node is used for training the data extraction. |
Use access determination table | Determines whether the authorizations for work items are controlled via the Access Determination Table. If the Use Access Determination Table checkbox is selected, the authorizations are controlled via the Access Determination Table. By default, the use of the Access Determination Table is not activated. In this case, the authorizations for the work items are assigned via the access control. To define the authorizations in more detail, activate the use of the Access Determination Table. Once activated, the system will not use access control, even if entries are missing in the Access Determination Table. |
Schema context for form selection | Specifies the schema that is used for the automatic selection of the appropriate form for this workflow node. |
Role of forwarding recipients | Specifies the user role for recipients of forwarded documents. Users who have the defined role can receive forwarded documents from this workflow node. |
Role of inquiry recipients | Specifies the user role for recipients of inquiries. Users who have the defined role can receive inquiries from this workflow node. |
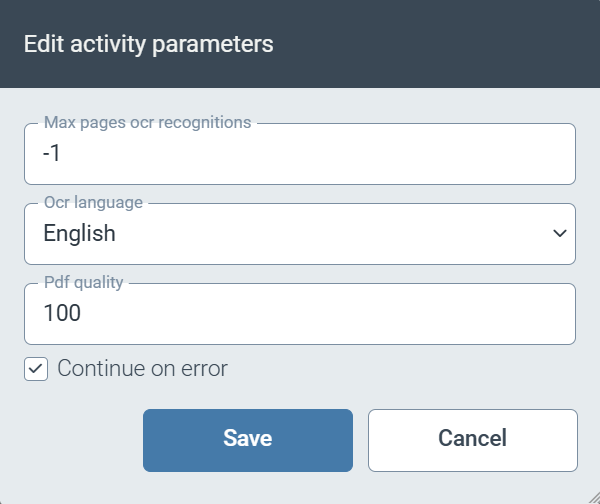 |
Field | Description |
|---|---|
Max pages for ocr recognitions | Specifies the maximum number of pages that are read via OCR. A maximum of the first 15 pages and the last 5 pages may be read. Enter the value |
Ocr language | Specifies the language used for text recognition. |
Pdf quality | Specifies the quality of the PDF document as a percentage (e.g., |
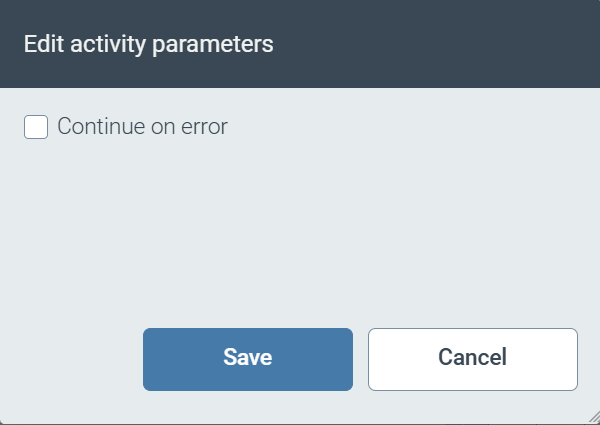
Continue on error | If the Continue on error checkbox is selected, the workflow will continue without OCR document extraction when an error occurs. |
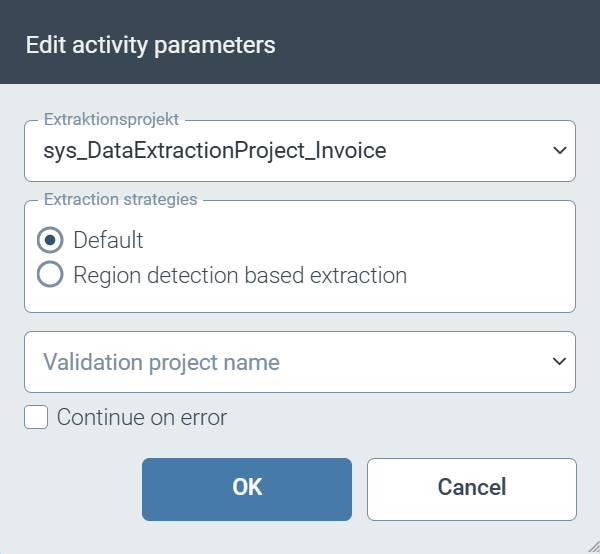 |
Field | Description |
|---|---|
Extraction project | Specifies the project that is used for data extraction. |
Extraction strategies | Specifies the method used for data extraction. The following data extraction methods are available:
|
Validation project name | Specifies the project that is used to validate the results of the data extraction. |
Continue on error | If the Continue on error checkbox is selected, the workflow will continue without extraction when an error occurs. Continuing the workflow despite errors can be useful, for example, if PDF documents are expected that do not technically comply with the PDF specification and therefore cause errors. |
 |
Field | Description |
|---|---|
Continue on error | If the Continue on error checkbox is selected, the workflow will continue without running the SAP Viewer Converter when an error occurs. |
 |
Field | Description |
|---|---|
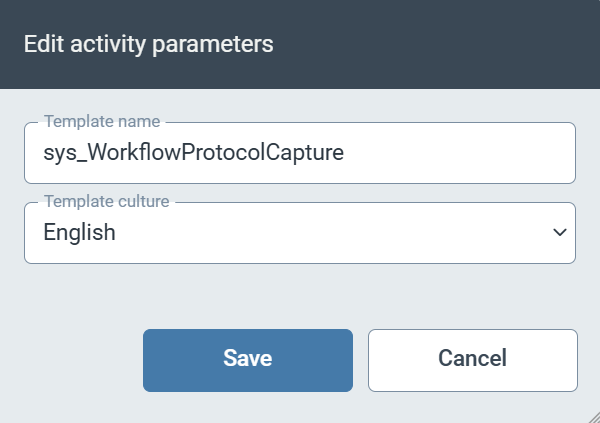
Template name | Specifies the template that is used to create the log. If you do not specify a template in the Template Name field, no workflow log will be created. |
Template culture | Specifies the language in which the log is created. |
The "Instance" panel (V2)
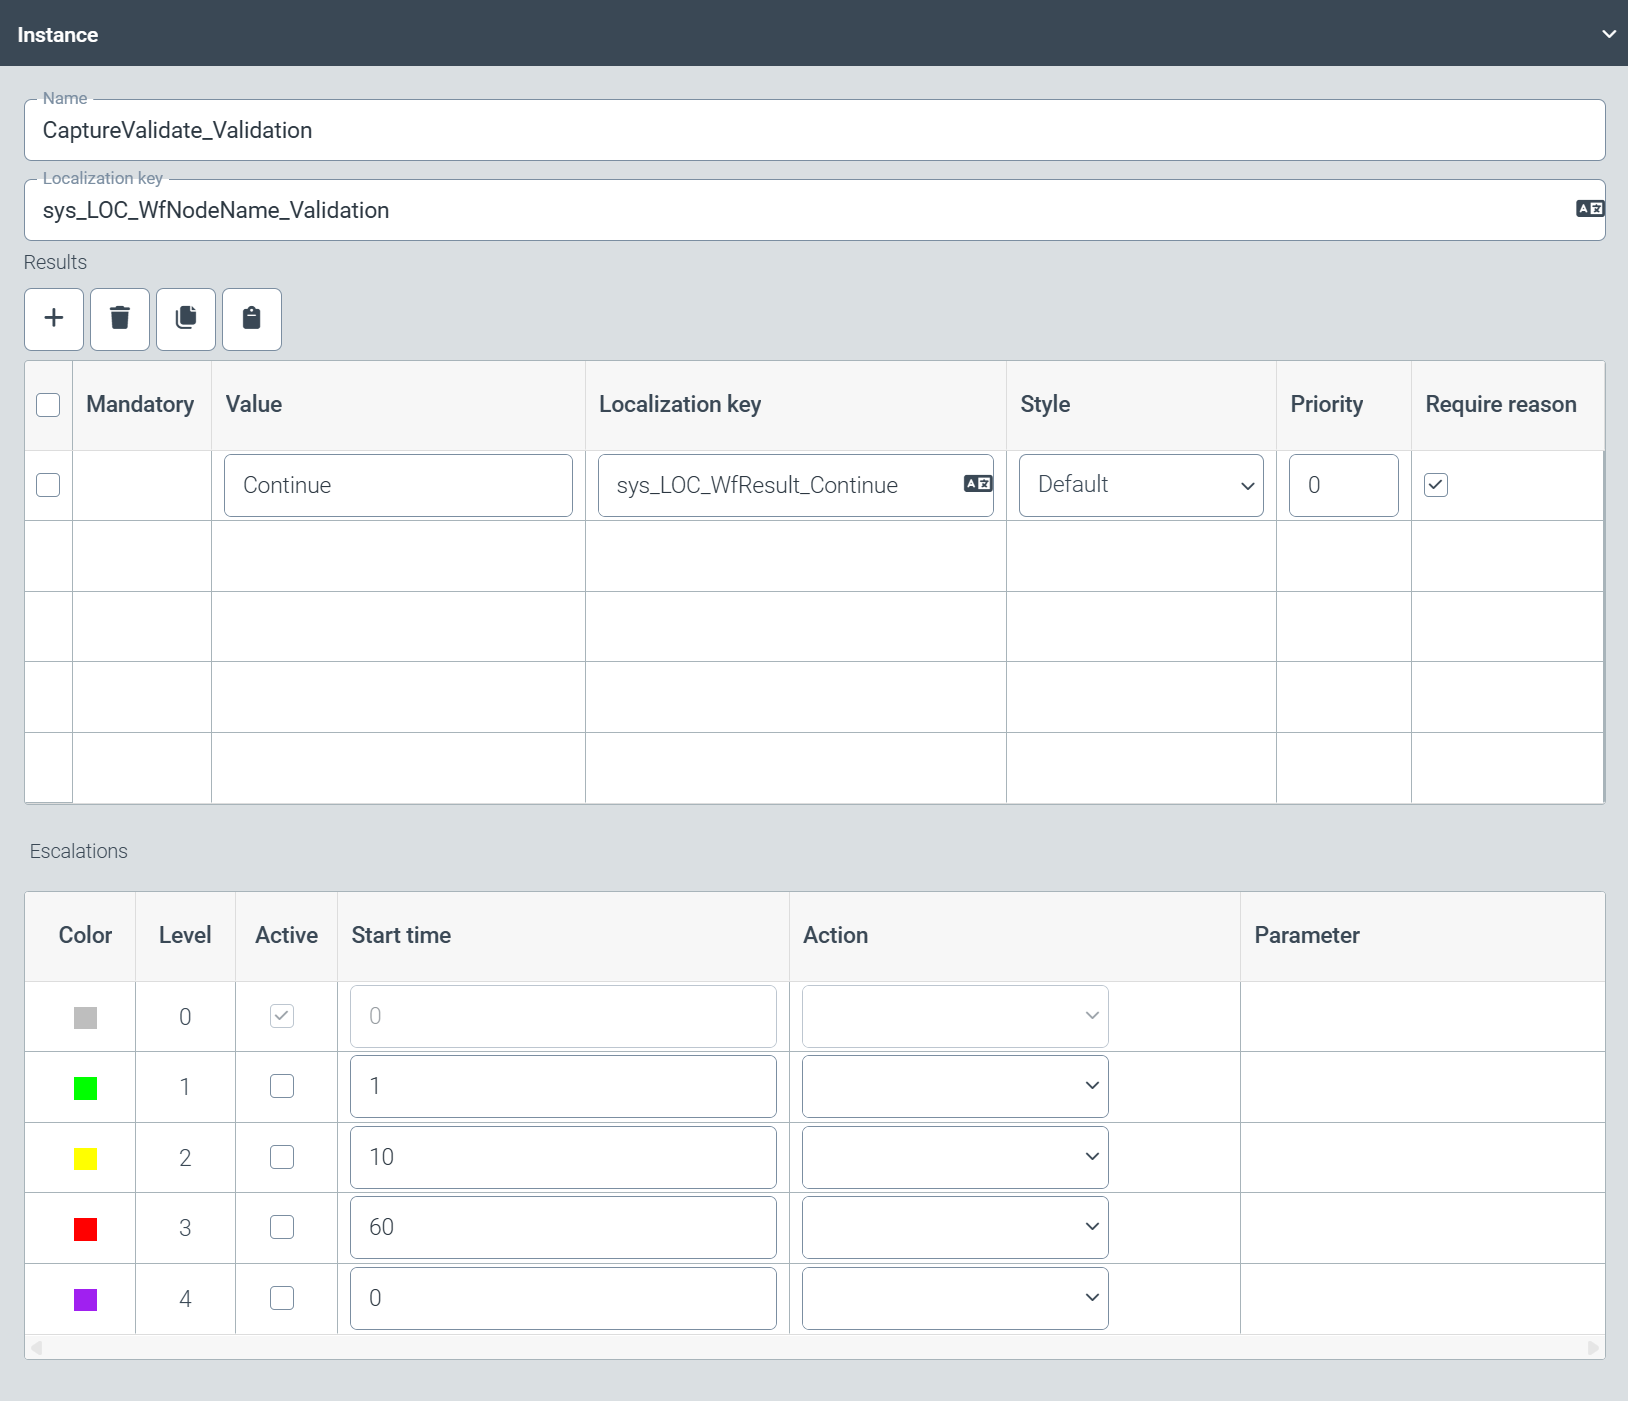 |
The Instance panel provides options for specifying the possible results of a workflow node and for defining one or more escalation levels, if required.
Results
The Results panel provides options for defining the results of a workflow node. The results are the outcomes of a workflow node and determine how the workflow is continued after the workflow step has been completed.
If, for example, the next step in the workflow is to be executed after the workflow step has been completed, define the result Continue. An example of a workflow step with multiple results is available in the sys_CaptureValidateApproval workflow, within the CaptureValidate_Approval node. Each workflow node must have at least one result.
If the workflow node is a UI workflow node, its results are displayed as buttons for the user. Here, you define the color of these buttons and the order in which they are displayed.
Field | Description |
|---|---|
Mandatory | Specifies whether the result is mandatory. |
Value | Specifies the value of the result (e.g., Enter all results generated by the workflow node. The entries determine the connection to the next node. |
Localization key | Specifies the localization key for the display name of the button. To open the Select localization dialog box, click the For more information, see Selecting a localization. |
Style | Specifies the color of the button. The color is only displayed in the editing view of a work item. The following colors are available:
|
Priority | Sets the order in which the buttons are displayed. |
Require reason | Determines whether the user is required to enter a comment after clicking the button. If this checkbox is selected, the entry of a comment is mandatory. |
Escalations
The Escalations panel provides options for defining the escalation levels of a workflow node. Escalations can be used to identify work items that remain in a workflow step for an extended period without being processed. Escalation levels are useful, for example, to ensure the timely processing of invoices that have a discount period.
For each workflow step, up to four escalation levels may be configured and activated. For each level, the action to be executed (for example, sending a notification) may be defined. Only activated levels are considered.
Field | Description |
|---|---|
Color | Displays the color used to identify the work item in the Work Item Manager. |
Level | Displays the escalation level. |
Active | Determines whether the escalation level is activated. The action (field Action) of the escalation level is only executed if the escalation level is activated. |
Start time | Specifies the time in minutes after which the escalation level is triggered. Time is measured from the end of the previous escalation level. For example, if you enter |
Action | Specifies the action triggered by the escalation level. The following actions are available:
|
Parameter | Specifies the status text if the |
The "Access control" panel (V2)
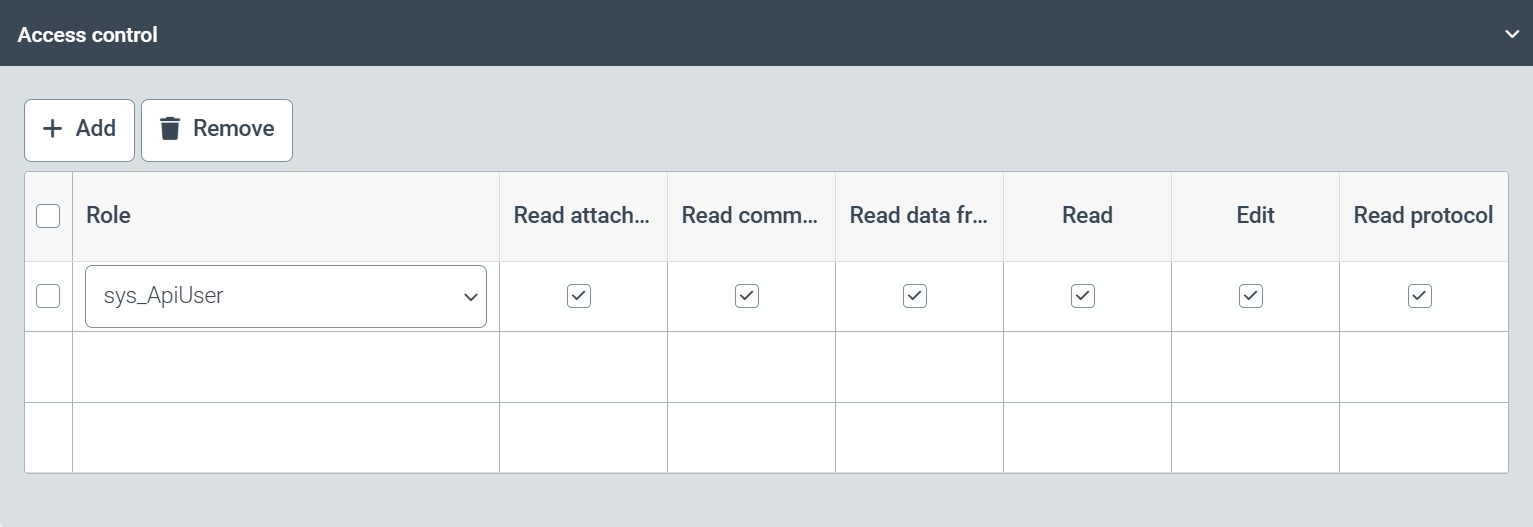 |
The Access control panel is where the authorizations for the selected start node, export node, or UI workflow node are defined.
In the Role column, select a role. Then select the checkboxes for the authorizations that this role is to receive for the node. To add a new row, click Add.
Notice
If the Use Access Determination Table checkbox is selected in the Activity parameters of a UI workflow node, the authorizations defined in the Access control panel have no effect on this workflow node. Instead, the authorizations are controlled by the Access Determination Table.
Select from the following types of authorization:
Notice
Depending on whether a start node, an export node, or a UI workflow node has been selected, either all or only some of the following authorizations are available.
Authorization | Description |
|---|---|
Delete attachment | Permission to delete attachments |
Read attachment | Permission to read attachments |
Create attachment | Permission to create attachments |
Read comments | Permission to read comments |
Create comments | Permission to create comments |
Delete comments | Permission to delete comments |
Read data from data service | Permission to access index data |
Delegate | Permission to delegate work items |
Inquire | Permission to forward work items |
Delete | Permission to delete work items |
Read | Permission to read work items |
Edit | Permission to process work items |
Resubmit | Permission to resubmit work items |
The "Script" panel (V2)
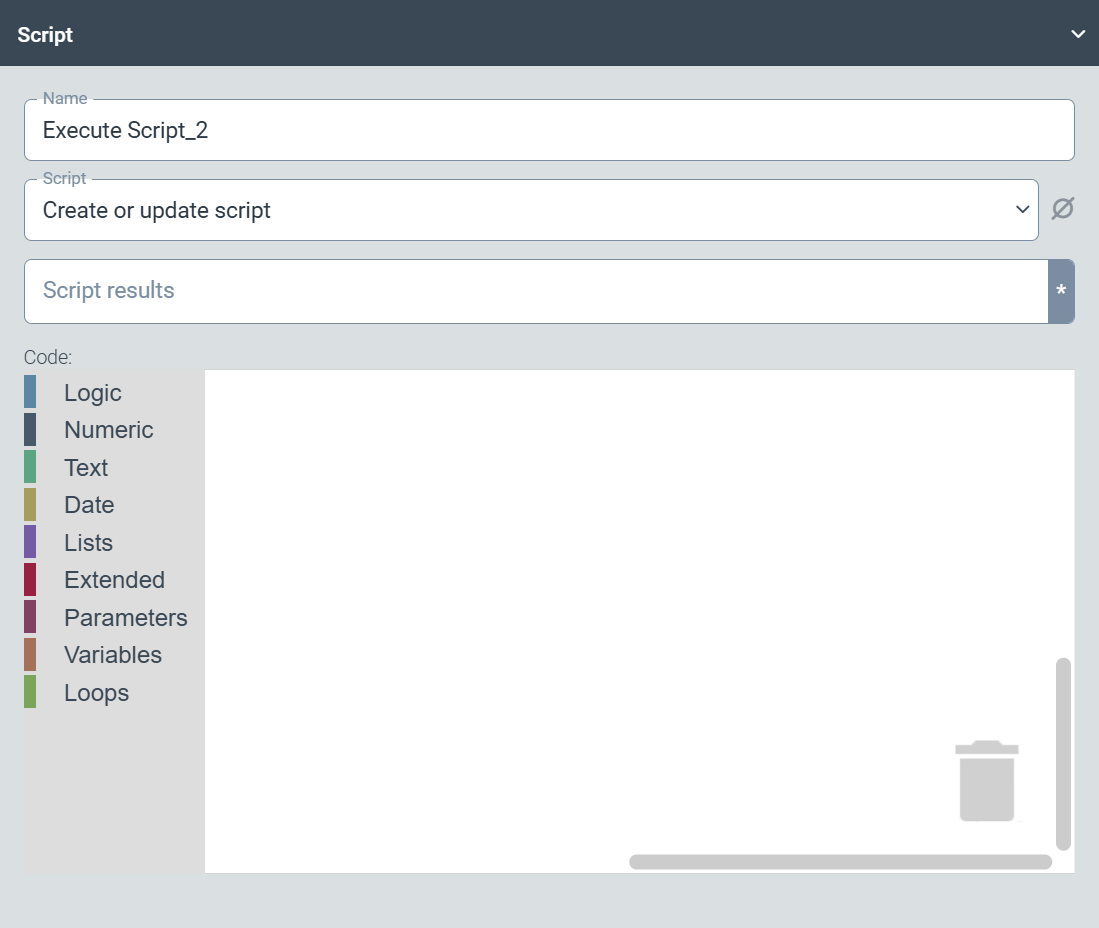 |
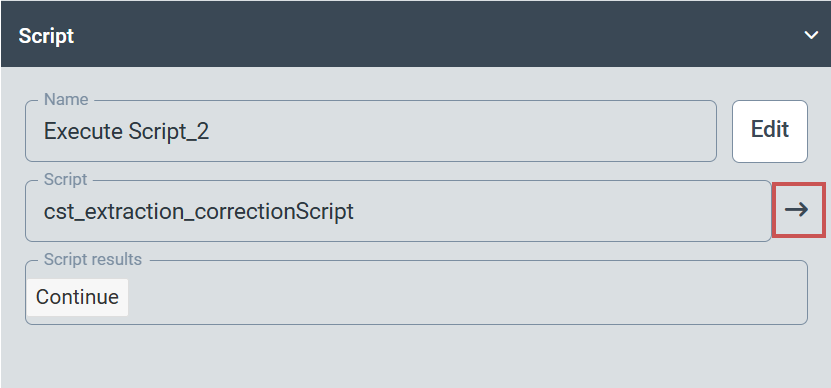
The Script panel provides options for selecting an existing script and for creating a new script. The selected or created script is executed for the script node in the workflow.
To select an existing script, select the script from the Script drop-down list. To create a new script, select Create or update script from the Script drop-down list.
Tip
We recommend not creating a new script in this view. Instead, create a new script using the options in the Scripts menu item, and then select it here.
After you have selected a script, the result of the script will be automatically displayed in the Script results field. Click  Open Script to open the script in a new tab.
 |
The "Solutions" panel (V2)
 |
The Solutions panel allows assigning a solution to the workflow. To activate or deactivate an assigned solution, click the switch in the Active column.
To be used, a workflow must always be assigned to at least one solution. For more information, see Solutions (V2).