Localization
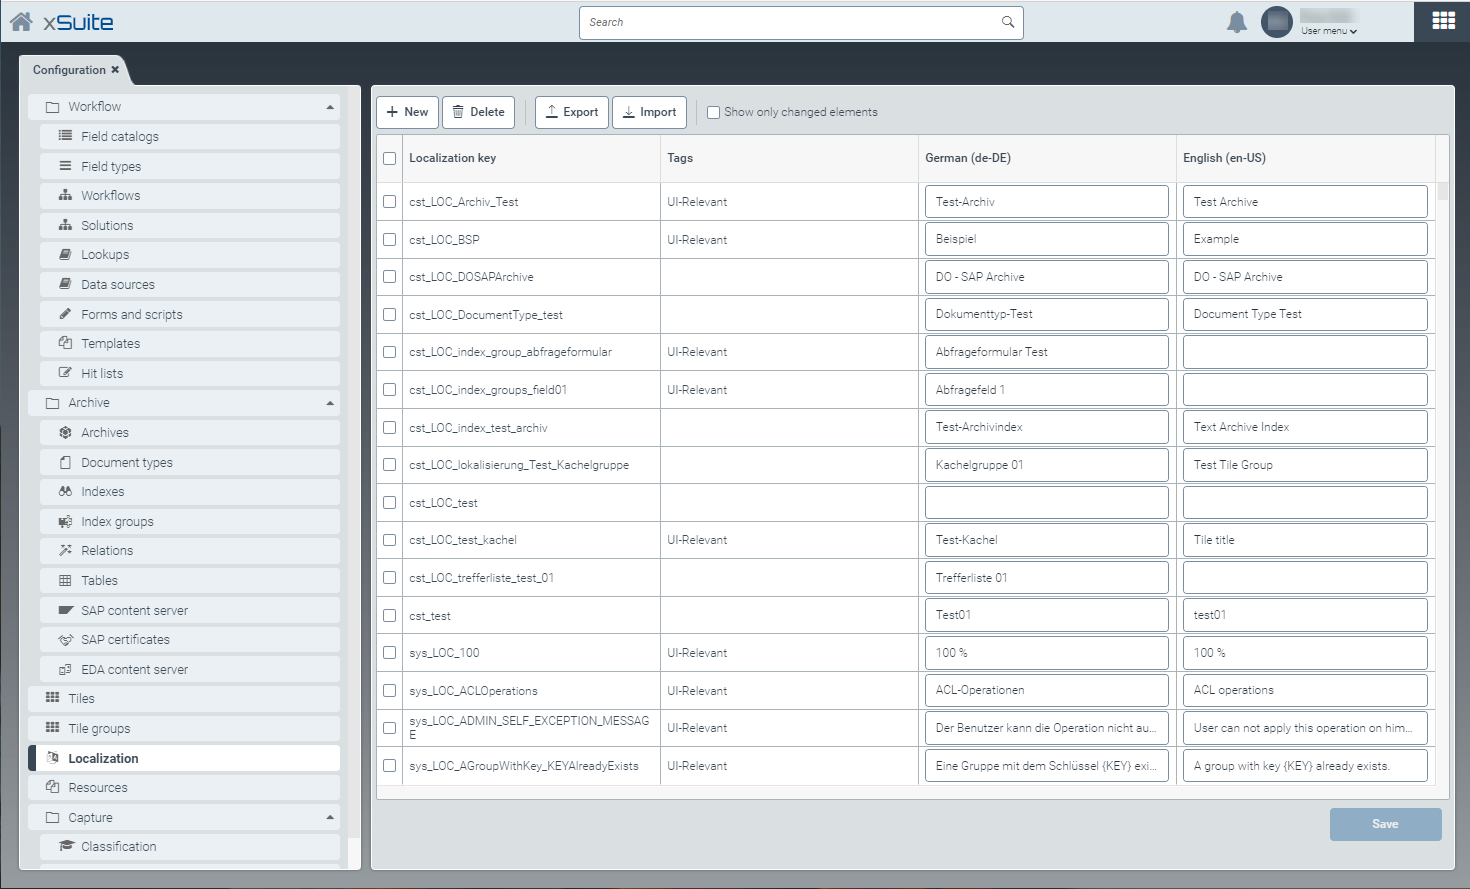 |
In the Localization window, you can localize UI elements and edit or delete existing localizations.
Localizations consist of a localization key and the name of the UI element in English and German. As an option, you can add tags to group localizations.
You can specifiy the following tags:
Tag | Use | Comments |
|---|---|---|
| Template configuration | If you want to use localization for templates, it is mandatory to tag them with the |
| All UI localizations | Currently, omitting the tag has no effect on the localization. |
You can use the search field in the header to search for the localization keys and all terms. If you press Enter or click on the  Search button, the list will be filtered by the term in the search field.
The  Reset button will remove the filtering applied to the list.
Creating a localization entry
From the configuration menu, open the Localization window and click New.
➣ The New localization key dialog box will open.
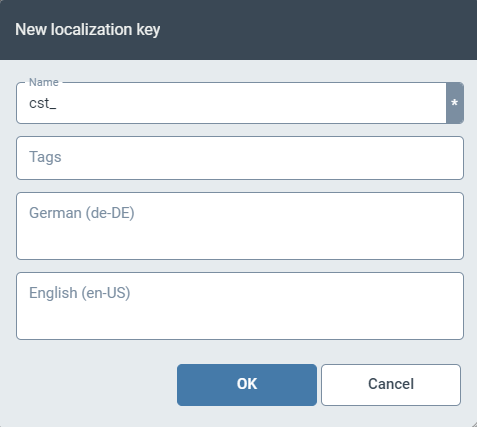
Enter a localization key in the field Name.
The prefix
cst_is predefined and cannot be changed.If necessary, enter one or more tags in the Tags field.
Press Enter after each tag to separate multiple tags.
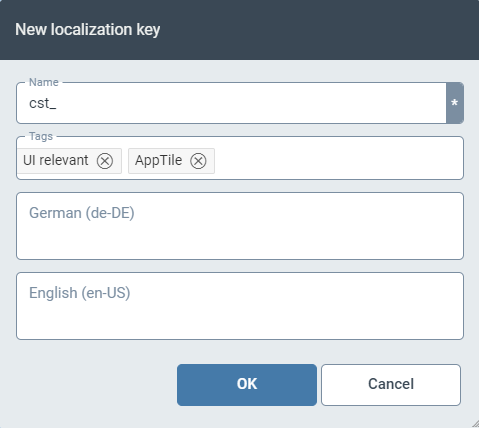
Enter the German name of the UI element in the German de-DE field.
Enter the English name of the UI element in the English en-EN field.
Click OK.
➣ The values from the new localization entry will be displayed in the table.

Notice
Select the check box Show only changed elements to display all localization entries that have been created but not yet saved.
Click Save.
➤ The new localization entry has now been created.
Exporting localization entries
Click the Export button in the Localization window.
➣ The Export localizations window will open.
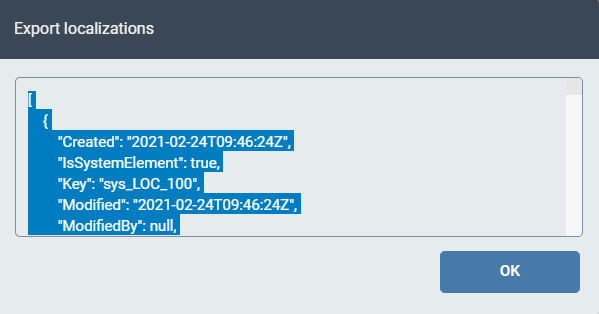
Select the localization entries to be exported and copy the entries with Ctrl + C.
By default, all entries will be selected.
Paste the entries into a text editor using Ctrl + V, and save the file in JSON format on your computer.
Click OK.
➤ The dialog box is now closed and the export of the localization entries is completed.
Importing localization entries
Click the Import button in the Localization window.
➣ The Import localizations dialog box will open.

In the text field, add all the localization entries you wish to import.
Caution
Imported localization entries will overwrite localization entries that already exist in the localization table under the same localization key.
Click Import.
➣ The imported localization entries will be displayed in the table.
Click Save.
➤ The import of the localization entries is now complete.
Selecting a localization
In a field that requires a localization key, click the button
 .
.➣ The Select localization dialog box will open.

Execute one of the following steps:
To select an existing localization, go to the Search pane and select the respective localization in the table. Click Apply.
To search the table of localization entries by keyword, enter the term in the field Search.
To create a new localization, proceed to Step 3.
Enter a localization key in the Name field.
The prefix
cst_is predefined and cannot be changed.Enter the German name of the UI element in the German de-DE field.
Enter the English name of the UI element in the English en-EN field.
Click Apply.
➤ The original field will now show the localization key.