Solutions (V2)
 |
The Solutions menu item provides options for creating custom solutions and for copying and editing the solutions that come with the software (prefix sys_).
Solutions are positioned upstream of workflows. When work items are created, the selected solution determines which processing path (that is, which workflow) is used for the work item. A workflow must be assigned to at least one solution in order to be used. The upstream placement of solutions ensures that external systems do not require modification when a workflow is updated or changed.
The following solutions come with the software:
Name | Description |
|---|---|
| Starting the workflow for incoming invoices with validation step |
| Starting the workflow for incoming invoices on SAP ERP/S/4HANA on-premises systems |
| Starting the workflow for incoming invoices with validation step and approval step |
| Starting the document extraction workflow for incoming invoices on any ERP system |
| Starting the document extraction workflow of incoming orders for SAP Sales |
| Starting the document extraction workflow of incoming order confirmations for SAP Purchasing |
Creating a solution (V2)
Select the Solutions menu item, then click New.
➣ The Edit solution dialog box will appear.
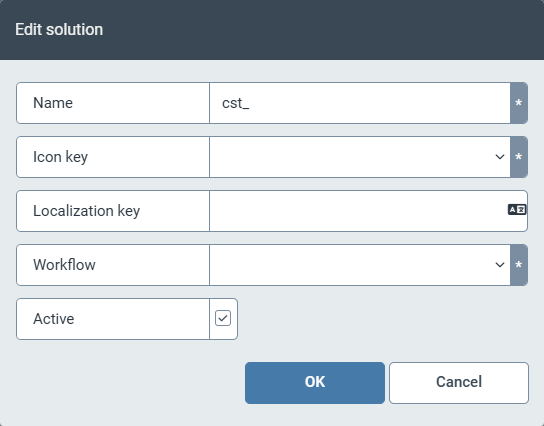
Edit the following fields:
Field
Instructions
Name
Enter the technical name of the solution.
Notice
The technical name comes prepended with cst_. This prefix cannot be deleted.
Icon key
Select an icon key. The icon key determines which icon will represent the solution.
Upload the icon under the Resources menu item. For more information, see Creating a resource.
Localization key
Specify the localization key for the solution name to be displayed.
To open the Select localization dialog box, click the
 button.
For more information, see Selecting a localization.
Workflow
Select the workflow meant to be downstream from the solution.
A workflow can be preceded by several solutions.
Active
To activate the solution, select the Active checkbox.
Click OK.
➤ The solution has been created.
Editing a solution (V2)
Select the Solutions menu item, then click the solution you want to edit.
➣ The Edit solution dialog box will open.
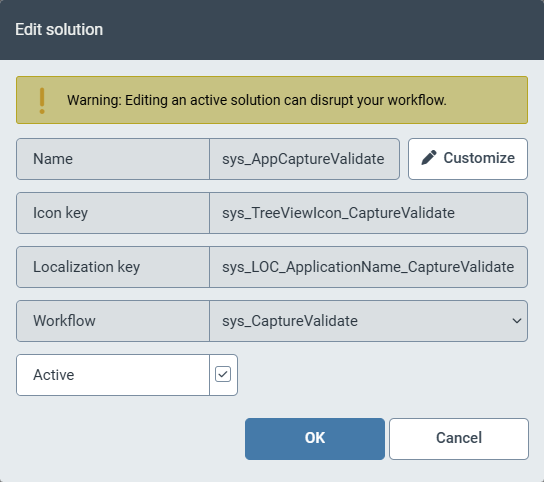
If you have opened a solution that comes with the software (prefix sys_), click Customize.
➣ The solution data will be editable.
Tip
Custom solutions (prefix cst_) are immediately editable.
Edit the following fields if required:
Field
Instructions
Name
Enter the technical name of the solution.
Notice
The cst_ or sys_ prefix in the technical name is predefined and cannot be deleted.
Icon key
Select an icon key. The icon key determines which icon will represent the solution.
Upload the icon under the Resources menu item. For more information, see Creating a resource.
Localization key
Specify the localization key for the solution name to be displayed.
To open the Select localization dialog box, click the
button.For more information, see Selecting a localization.
Workflow
Select the workflow meant to be downstream from the solution.
A workflow can be preceded by several solutions.
Active
To activate the solution, select the Active checkbox.
Click OK.
➤ The editing of the solution is complete.