Templates (V1)
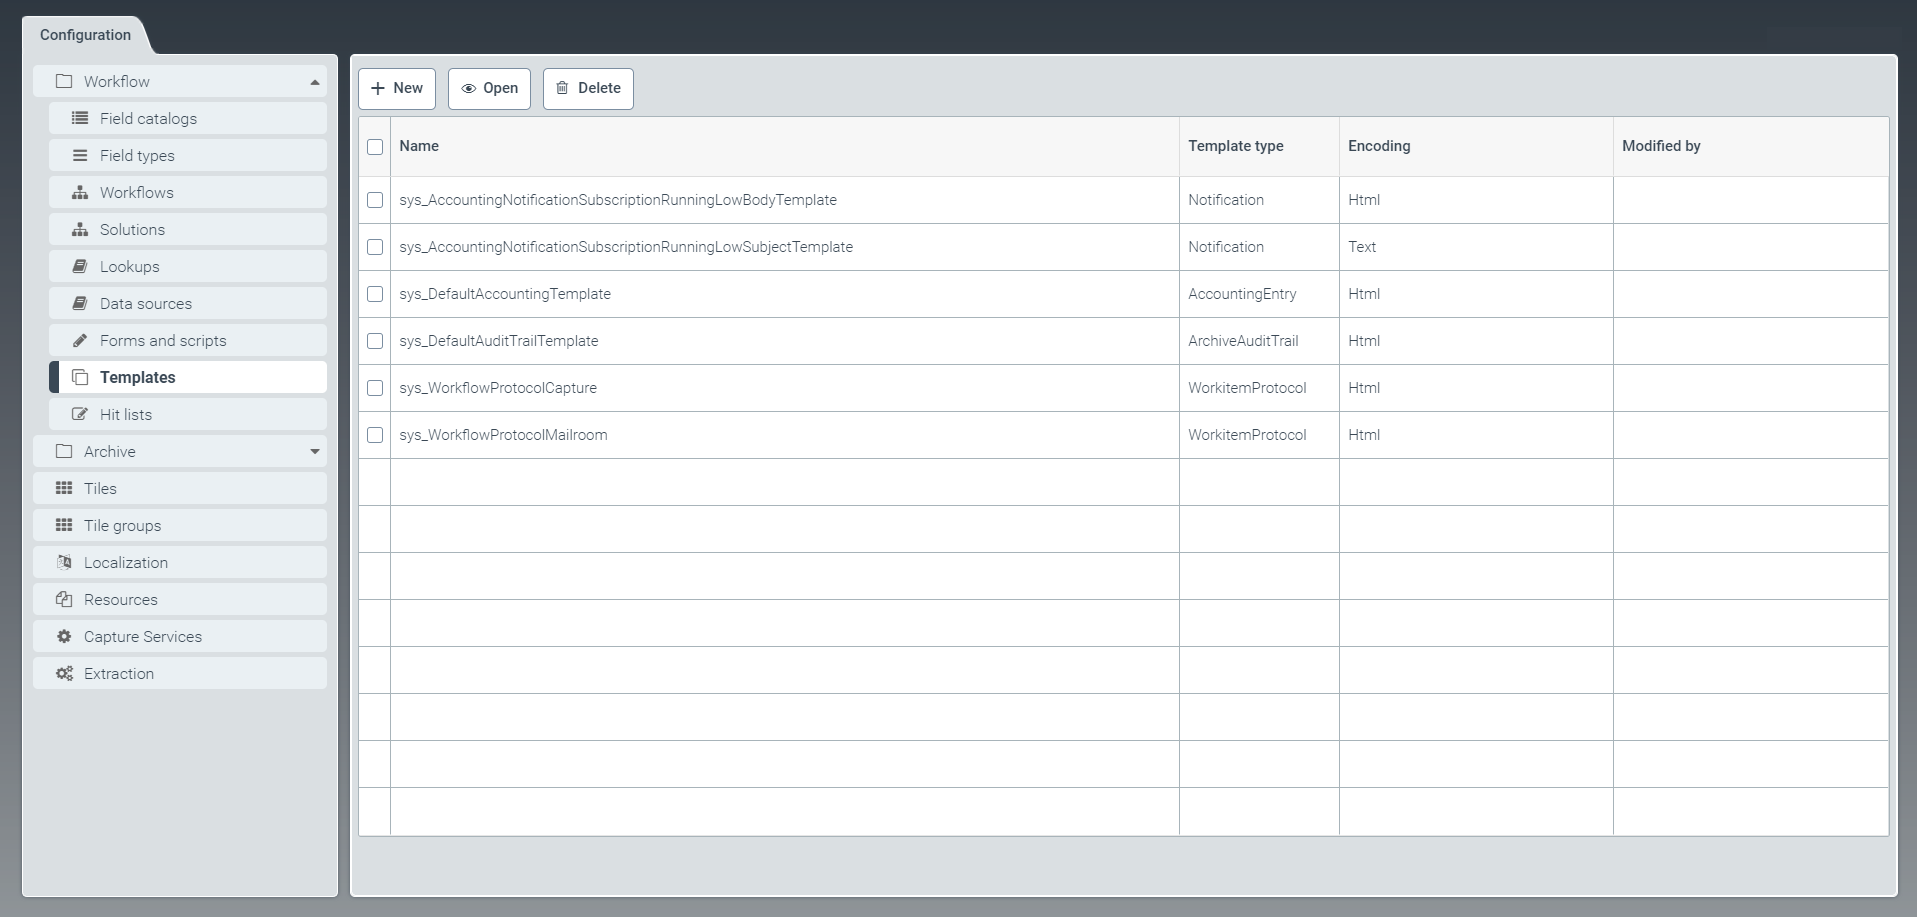 |
The tab Templates is where you can create and edit templates. For more information on the template language "Handlebars", see the Handlebars Guide.
Templates are used in different functions in xSuite Helix, e.g. you can use them to customize how an audit trail of an archive document is displayed.
Creating a template
From the configuration menu, open the Template window and click New.
➣ The Template: New template window will open.
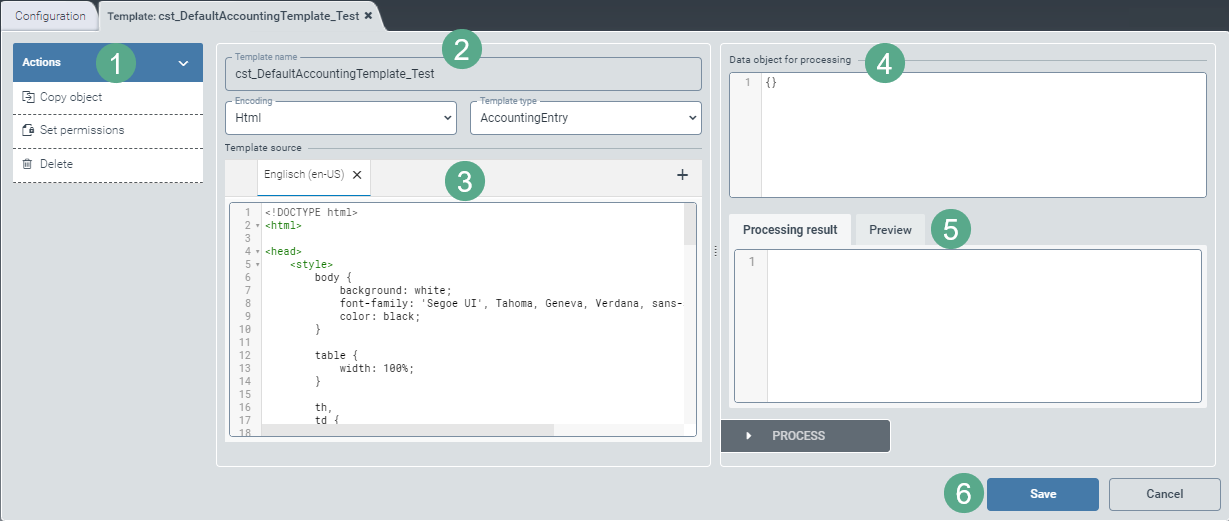
Enter a template name and select the type of encoding and the template type from the drop-down lists (2).
Enter the template source directly into the respective field (3).
Use the
 button to add another language. You can switch between English and German by clicking the button English (en-US) and the button German (de-DE).
To test your template, enter a data object in JSON syntax into the window for processing (4).
Click the Process button in the "Processing Result" area (5).
➣ The Processing result window will display the edited data object from the field Data object for processing (4).
➣ The Preview window will display the template generated.
Click Save to confirm the data you have entered and selected, or click Cancel (6) to discard changes.
Notice
After editing and saving, the options Copy object and Delete will appear in the action menu (1).
To create a copy of the template currently open, click Copy object. The copy will be identified with the suffix _Copy postpended to the name of the template.
Click Delete to delete a saved template.
Editing a template
In the Template tab, click on the table row of the template desired to open it.
➣ The Template: {Template name} window will open.
Notice
Standard templates with the prefix sys_ cannot be edited until specific steps have been taken, as follows:
Click the button Create custom-version to create a custom version.
Save the custom version.
Close the window and open it again.
Enter the technical name of the template and select the type of encoding and the template type from the drop-down lists (2).
Notice
The technical name comes prepended with cst_. This prefix cannot be deleted.
Enter the template source directly into the respective field (3).
Use the
button to add another language. You can toggle between English and German by clicking the English (en-US) or German (de-DE) buttons.Enter the data object for processing (4).
Click the Process button in the Processing result area (5).
➣ The Processing result window will display the edited data object in the Data object for processing field (4).
➣ The Preview window will display the template generated.
Click Save to confirm the data you have entered and selected, or click Cancel (6) to discard changes.
Notice
After editing and saving, the options Copy object and Delete will also appear in the action menu (1).
To create a copy of the template currently open, click Copy object. The copy will be identified with the suffix _Copy postpended to the name of the template.
Click Delete to delete a saved template.