The Access Determination Table (V2)
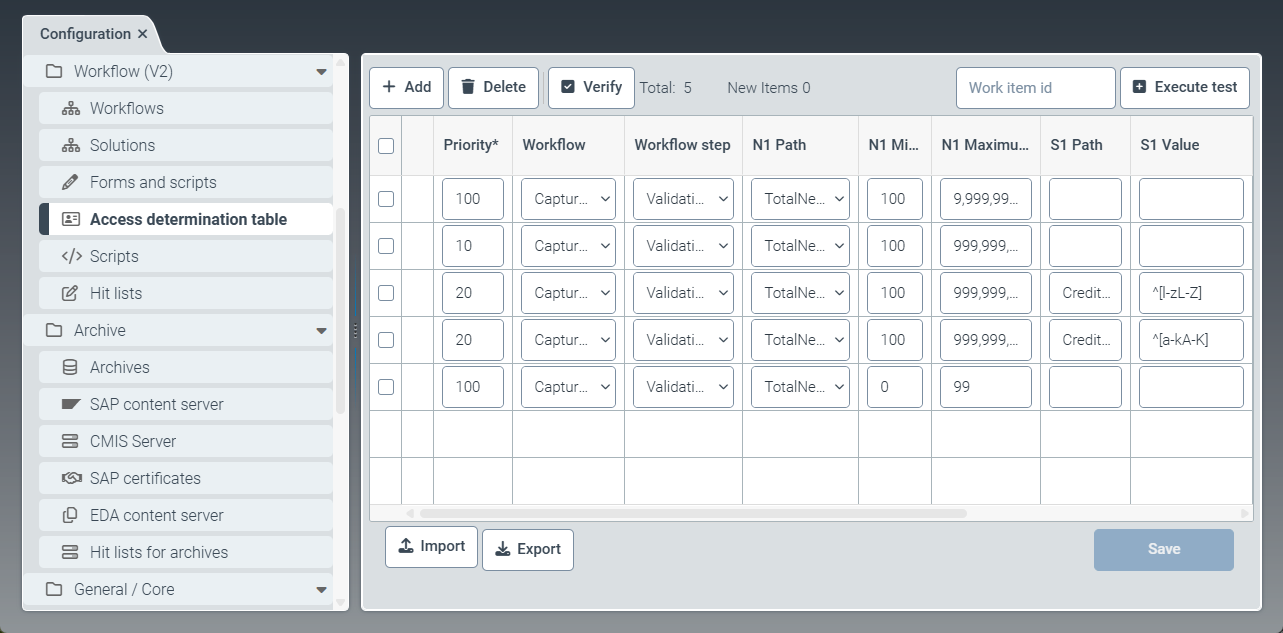 |
The Access Determination Table menu item offers options for creating, editing, and deleting entries in the Access Determination Table. The system uses the entries in the Access Determination Table to automatically determine which users receive a document for processing during the workflow.
The determination of the responsible users is based on amount thresholds. For example, all documents with a total net amount of up to €100 are processed by User A in the "Validation" workflow step, while all documents with a total net amount greater than €100 are processed by User B.
For each workflow step, it is specified how many processing levels a workflow step has and which users are responsible for each level.
Caution
If using the Access Determination Table is activated for a UI step in the workflow configuration (see Parameter Use Access Determination Table), the necessary rules must be added to the Access Determination Table. If a rule is missing and a work item's constellation falls outside the specified rules, the work item cannot be edited and is set to the "Error" status.
Adding an entry to the Access Determination Table (V2)
Tip
Before making changes to the Access Determination Table, export the table. This ensures that the existing data is saved and can be reimported, if necessary, to restore the original state.
Select the Access Determination Table menu item, then click New.
➣ An empty table row will be added.
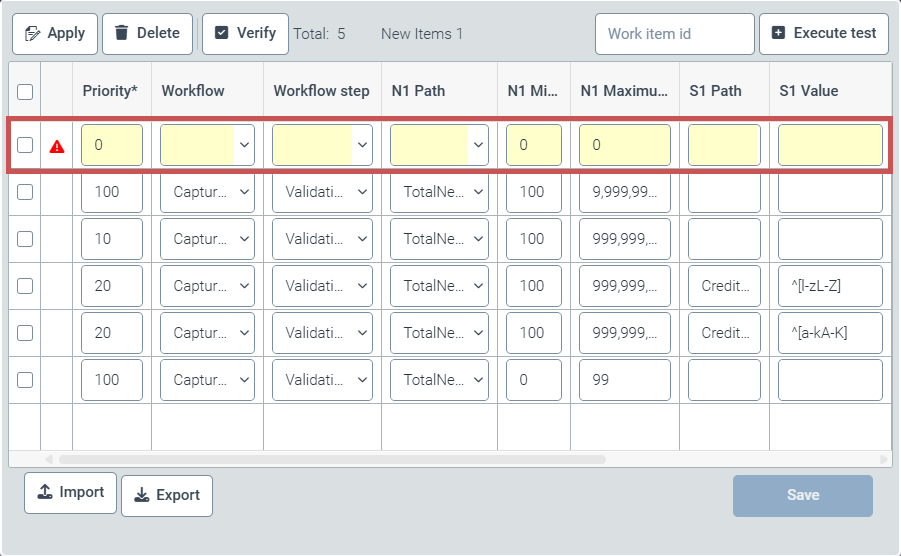
Edit the following columns:
Column
Instructions
Priority
Enter a number in the Priority field.
The specified number determines the priority of the entry. If there are multiple entries with the same data, the system uses the priority to determine which entry to use. Higher numbers indicate higher priority.
Default value:
0Workflow
Select the workflow to which the entry applies.
Workflow step
Select the workflow step to which the entry applies (e.g.,
Validation).N1 Path
Select the criterion for access determination. For example, select
TotalNetAmountif the role is to be determined by the net amount.The available criteria depend on the selected workflow. The following criteria can be selected:
TotalNetAmount: Total net amountTotalTaxAmount: Total tax amountTotalGrossAmount: Total gross amountTotalDiscount: Total discountDiscountRate: Discount percentage (cash discount rate)TotalExtraCharges: Total surcharges
N1 Minimum Value
Enter the lower amount threshold. The lower amount threshold defines the minimum amount at which a user or a user role is allowed to process a workflow task.
N1 Maximum Value
Enter the upper amount threshold. The upper amount threshold defines the maximum amount up to which a user or a user role is allowed to process a workflow task.
If the N1 Maximum Value column is left empty, no upper amount threshold is applied. For example, to create an entry that applies to all amounts from €100 upward, enter
100as the lower threshold and leave the upper threshold empty.S1 Path - S3 Path
Enter a workflow field that is used to determine the responsible user (e.g.,
Creditor.Name) (optional).The field content is defined by the entries in the S1 Value through S3 Value columns.
S1 Value - S3 Value
Enter the content of the field specified in the S1 Path through S3 Path columns.
The system uses the field content to determine the user responsible for the work item. You can use wildcards and regular expressions to specify the field content.
Example: The expression
^[l-zL-Z]selects all field contents (e.g., vendors) that begin with the lettersLtoZ.Target role
Select the user or user role to which the entry applies.
Selecting the
Automatic continuationuser role means that no user will receive the document. The workflow step is carried out automatically in the background and answered positively.Rights
Select one of the following authorizations to be assigned to the user role:
Read: The user or user role receives the "Read" authorization. Users can view the document data and add comments.Process: The user or user role receives the "Process" authorization. Users can view the document data, add comments, delegate, forward, and return the document.Edit: The user or user role receives the "Edit" authorization. Users can view and edit all data in a document.
Notice
If you select the
Customizevalue in the Rights column, you can adjust the authorizations individually. The Rights dialog box will open. In this dialog box, you can add or remove the individual authorizations by activating or deactivating the corresponding checkboxes.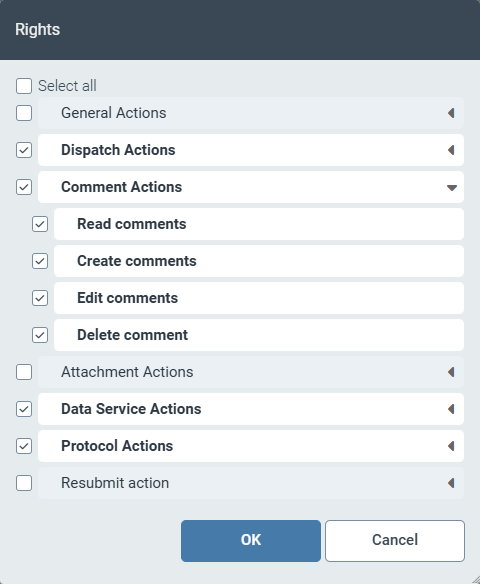
Stage
Set the release level.
Release levels allow you to configure multiple runs (multiple processing levels) for a workflow step based on various content criteria. For example, you can use release levels to define a hierarchical check of a document based on the document amount.
The specification of the release level defines the processing level at which a user may process a workflow task. The counting of release levels starts at
0.Iteration text
Enter a short text describing the user's task in the workflow step (e.g.,
Approve this invoice) (optional).This text is displayed as the status text of the work item in both the work item list and the workflow log.
Is final
Specify whether the final processing level of a workflow step has been reached.
For the final processing level of a workflow step, always select the Is final checkbox. If the checkbox is not selected, the system will search for an entry at the next higher processing level of the workflow step.
Click Apply, then click Save.
➤ The entry for access determination has been added.
Tip
The correctness of the entries in the Access Determination Table can be checked.
Checking entries in the Access Determination Table (V2)
To check the correctness and completeness of the entries in the Access Determination Table, you can verify and test the entries.
Verifying entries
During verification, the system checks the entries in the Access Determination Table for the following formal aspects:
Does the specified schema exist?
Does the specified schema match the workflow?
Do the specified fields match the schema?
Does the specified field content match the field category?
Are the specified roles correct?
Do the authorizations exist?
Notice
During verification, the system does not verify that the entries are meaningful or consistent with each other.
Select the Access Determination Table menu item.
Click Verify.

➤ The entries have been validated. The message
Access Determination has been successfully validatedis displayed.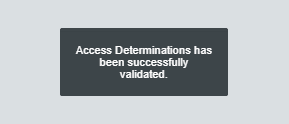
Testing entries
During the test, the system uses a specific work item to check whether the entries in the Access Determination Table can be successfully applied to this work item.
Select the Access Determination Table menu item.
Enter the ID of an existing work item in the Work item id field.
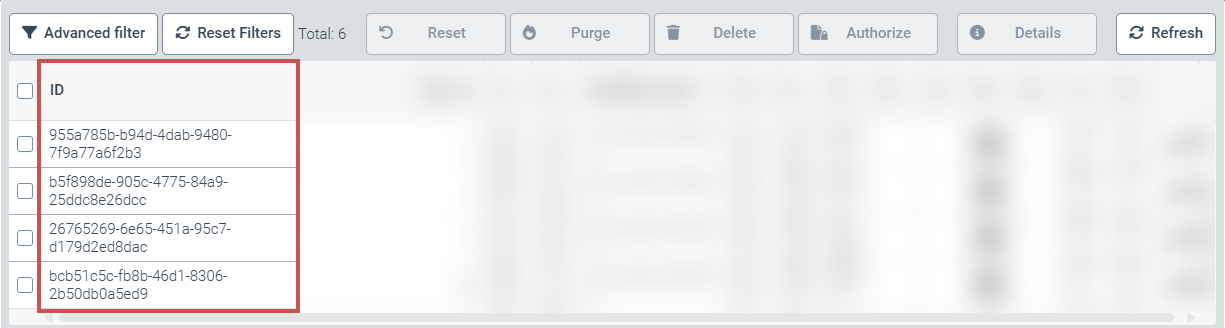
Notice
The IDs of work items are displayed in the Work Item Manager in the ID column. Copy an ID from the Work Item Manager and use it for the test.
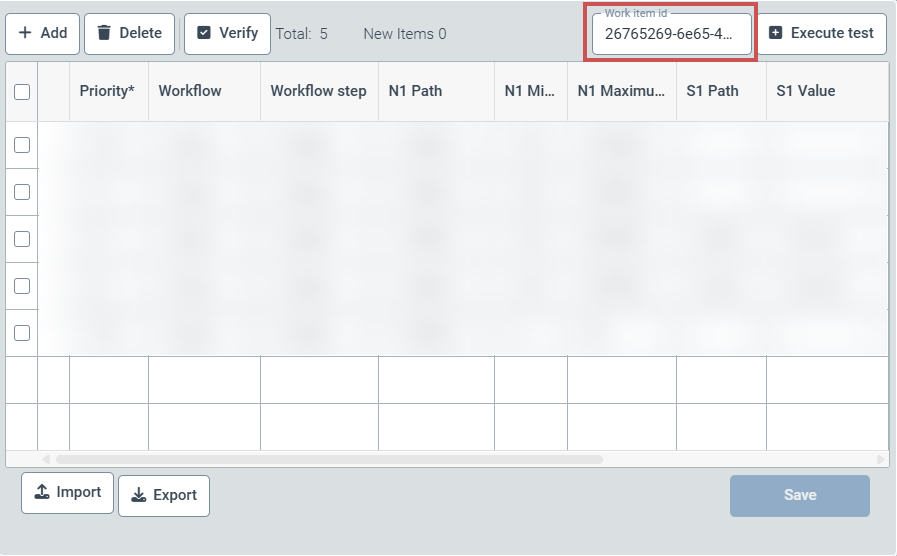
Click Execute test.
➤ If no suitable entry is found for the specified work item, a blank table will be displayed.
➤ If one or more matching entries are found for the specified work item, these entries will be displayed in the table.
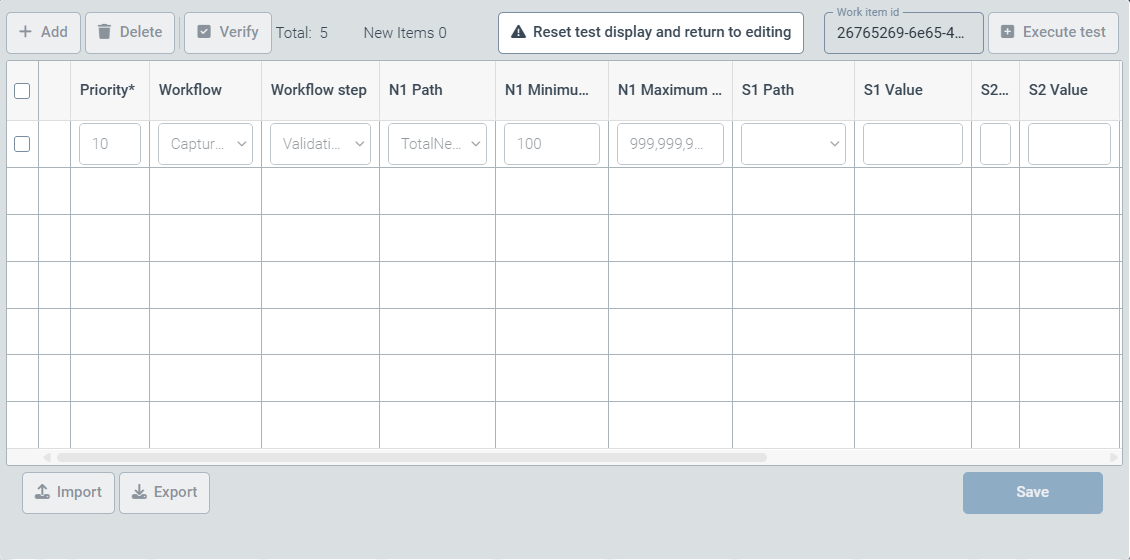
Notice
To exit the test view, click Reset test display and return to editing.
Exporting/importing entries from the Access Determination Table (V2)
The entries in the Access Determination Table can be exported and imported. The JSON file format is used for both processes.
Importing entries
When importing entries, you can choose whether to overwrite the existing entries or add the new data only.
Select the Access Determination Table menu item.
Click Import.
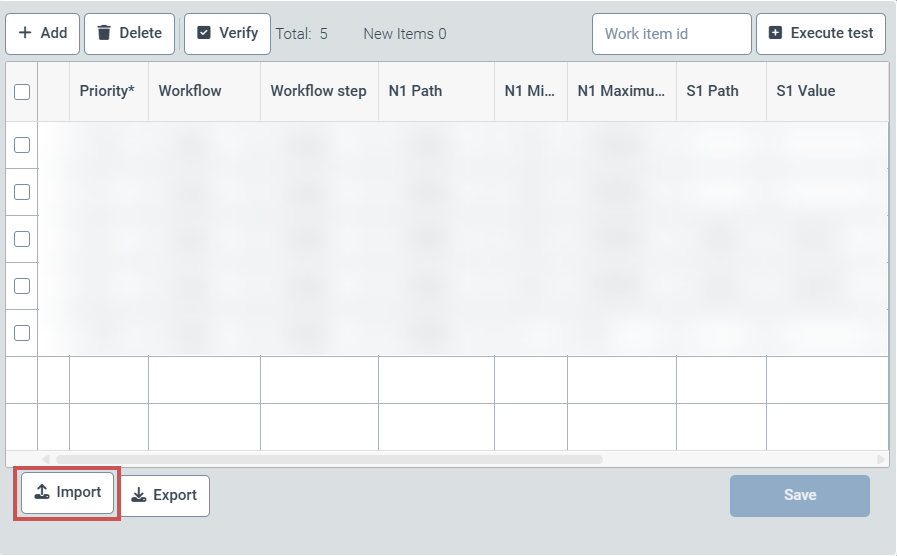
➣ The file selection dialog box will open.
Select a file in JSON format and click Open.
➣ The Import Access Determinations dialog box will open.
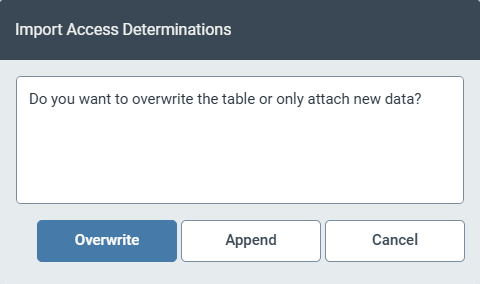
Click one of the following buttons:
Overwrite: The existing entries in the Access Determination Table are overwritten by the imported data.
Append: The existing entries in the Access Determination Table are not overwritten. The new data is added to the table.
➤ The entries have been imported.
Exporting entries
When exporting, all entries in the Access Determination Table are always exported. Selecting individual entries in the table does not affect the export.
Select the Access Determination Table menu item.
Click Export.
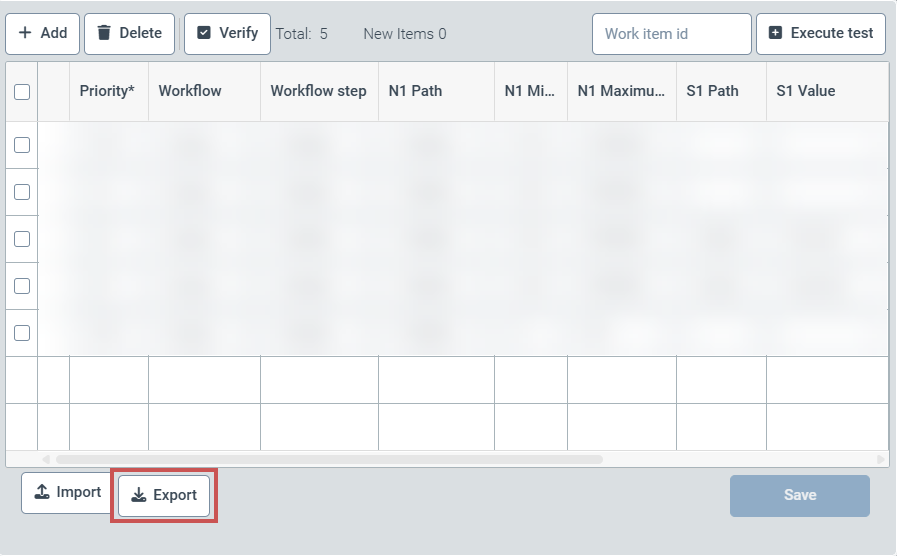
➤ The entries will be exported as a JSON file.