Resources
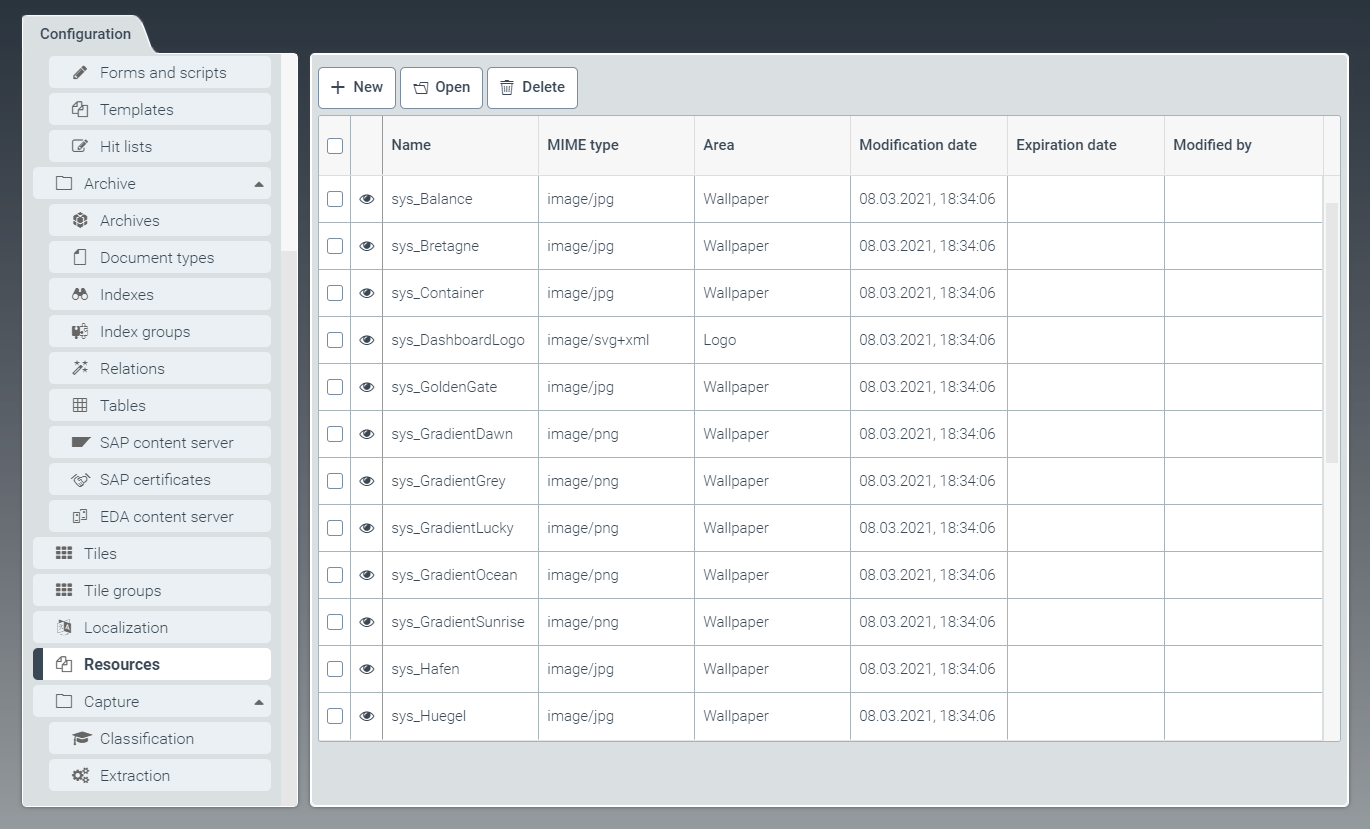 |
The Resources window contains all resource files. Here you can upload new resource files and edit or delete existing ones.
For example, you can upload image files to be included as wallpapers or logos in xSuite Helix.
Creating a resource
From the configuration menu, open the Resources window and click New.
➣ The Resource: New resource window will open.

In the Name field, type the name of the resource.
The prefix
cst_is predefined and cannot be changed.Click the Upload button and select a file such as an image.
➣ The MIME type field will automatically be filled with the file format of the image file.
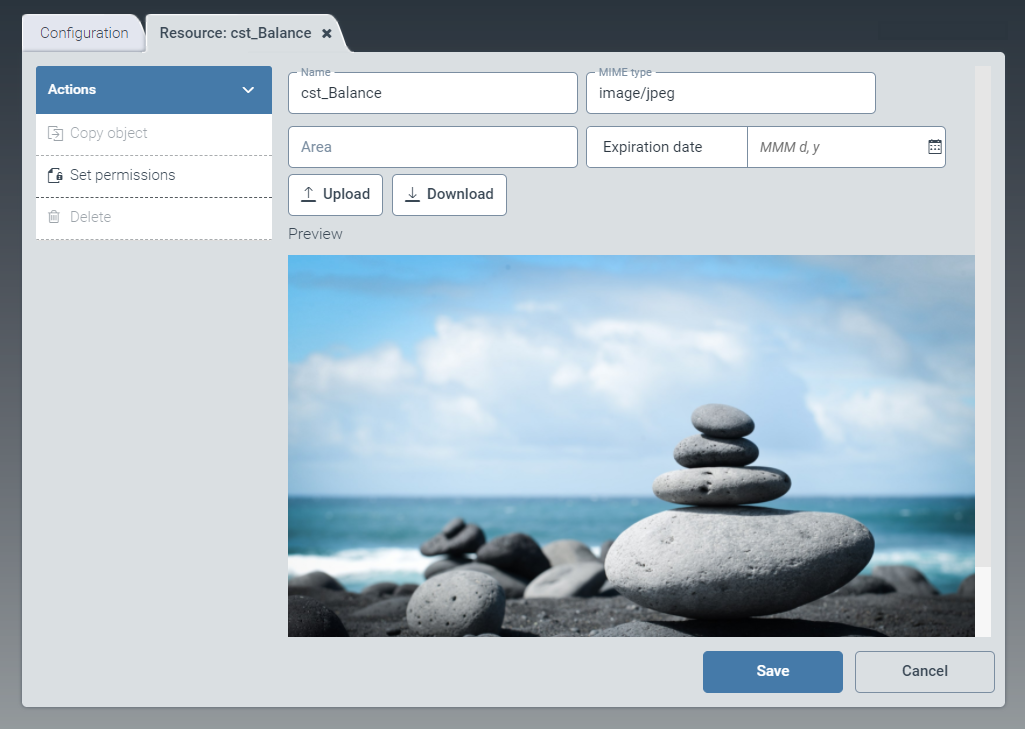
If necessary, enter a category for the image file in the Area field.
Notice
If an image file is to be used as wallpaper, enter
Wallpaperin the field.If necessary, enter a date in the Expiration date field. The system will stop using the image file after this date.
In the action menu, click the option Set permissions and define access permissions.
Select from the following types of authorization:
Authorization
Description
Read
Unrestricted read rights to the resource.
Update
Authorization to update the resource.
Delete
Authorization to delete the resource.
Authorize
Authorization to edit permissions
Click Save.
➤ The new resource has now been created and can be used.
Notice
To create a copy of the resource currently open, click Copy object. The copy will be identified with the suffix _Copy postpended to the name of the resource.
To delete a resource that has been saved, click Delete.
Editing a resource
Open a resource by clicking in the corresponding row in the table.
➣ The Resource: {Resource name} window will open.

Notice
Standard resources with the prefix sys_ cannot be edited until specific steps have been taken, as follows:
Create a custom version by clicking on the button Create custom-version.
Save the custom version.
Close the window and open it again.
Click the Upload button and select a file, for example, an image file.
If necessary, enter a category for the image file in the Area field.
Notice
If an image file is to be used as wallpaper, enter
Wallpaperin the field.If necessary, enter a date in the Expiration date field. The system will stop using the image file after this date.
In the action menu, click the option Set permissions and define access permissions.
Select from the following types of authorization:
Authorization
Description
Read
Unrestricted read rights to the resource.
Update
Authorization to update the resource.
Delete
Authorization to delete the resource.
Authorize
Authorization to edit permissions
Click Save.
Notice
To create a copy of the resource currently open, click Copy object. The copy will be identified with the suffix _Copy postpended to the name of the resource.
To delete a resource that has been saved, click Delete.