Installing xSuite Bus Prism
Run the
setup.exefile as administrator.➤ The xSuite Bus Prism Setup will open.
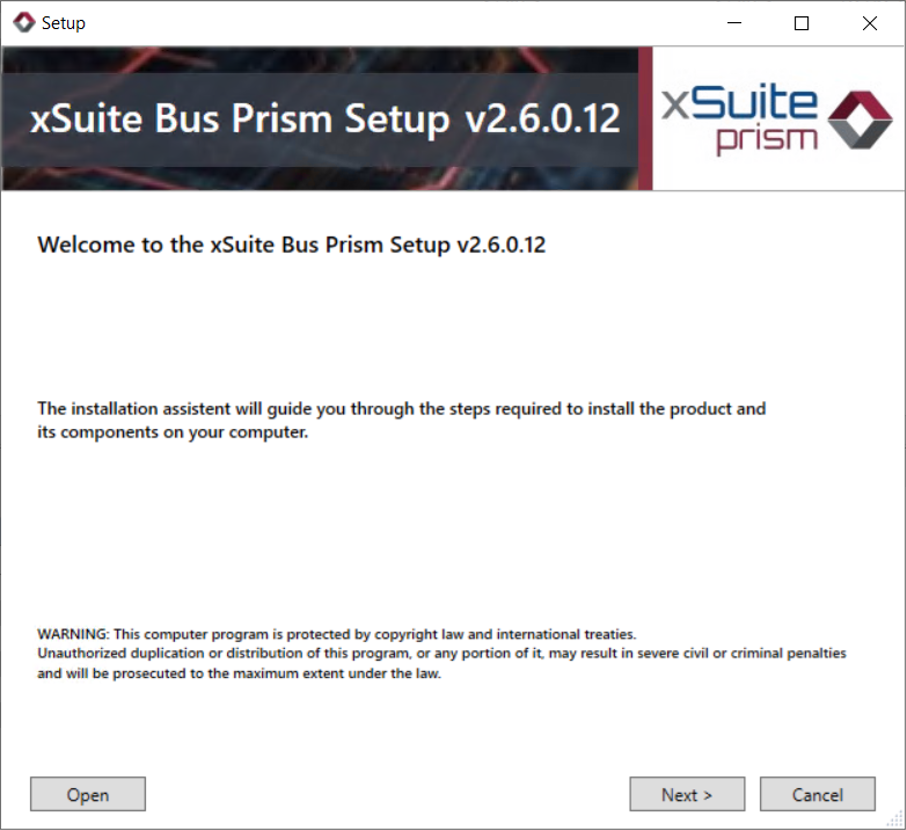
Notice
You can open an existing xSuite Bus Prism file with the Open button.
The file contains presets that were saved during a previous installation.
Click Next.
➤ The license agreement will open.
Select the Yes, I accept all terms of the License Agreement check box, and then click Next.
➤ The components selection list will open.
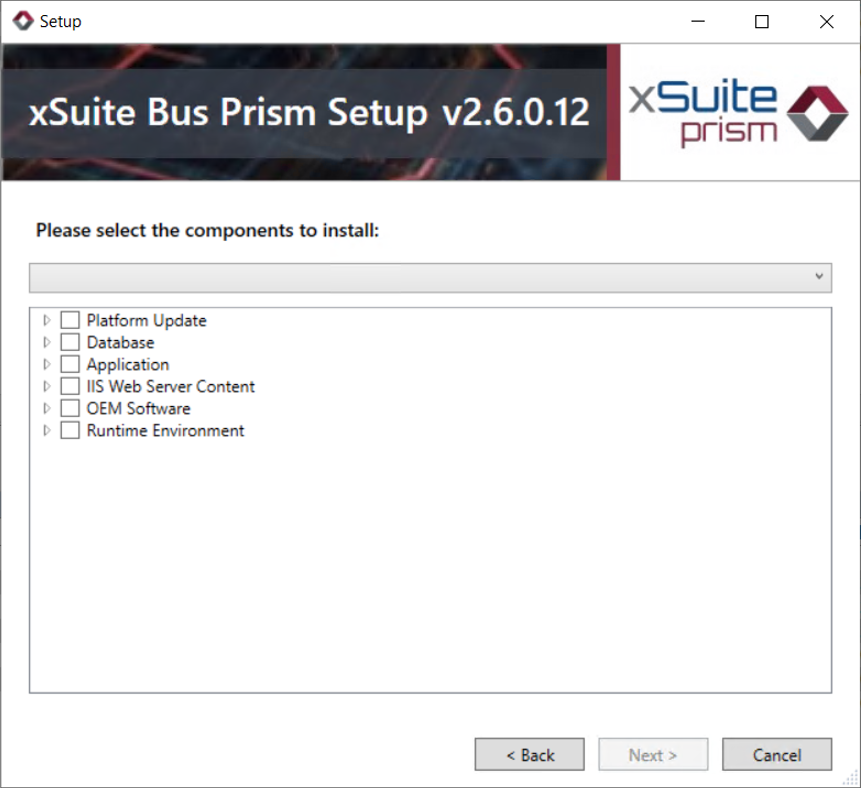
Select one of the following entries:
Custom: Custom component selectionxSuite Bus Prism Update: Selection list of components for an update of xSuite Bus PrismxSuite Extraction Prism V5 ONLY (X4D5): Selection list of components for the installation of xSuite Bus Prism
Click Next.
➣ The selection list of installation folders will open.

Check to ensure that the path specifications are correct. If necessary, correct them.
Field
Technical description
Application Root Path
Specifies the file path for the parent directory.
The following application folders are created under this directory:
Application Path: Specifies the file path for the xSuite Prism Bus application.
Web Path: Specifies the file path for the xSuite Prism Bus Web Service.
The Refresh button applies changes to the root directories for all underlying directories of the section.
Data Root Path
Specifies the file path for the parent directory.
The following data folders are created under this directory:
Data Path: Specifies the file path for data folders.
Big Data Path: Specifies the file path for big data files. Big data files are large files that should not be stored in the database, but are kept in an external directory by xSuite Bus.
The data should be placed on a drive on the server or on the network in a shared folder.
Click Next.
➣ The pop-up with database options will open.
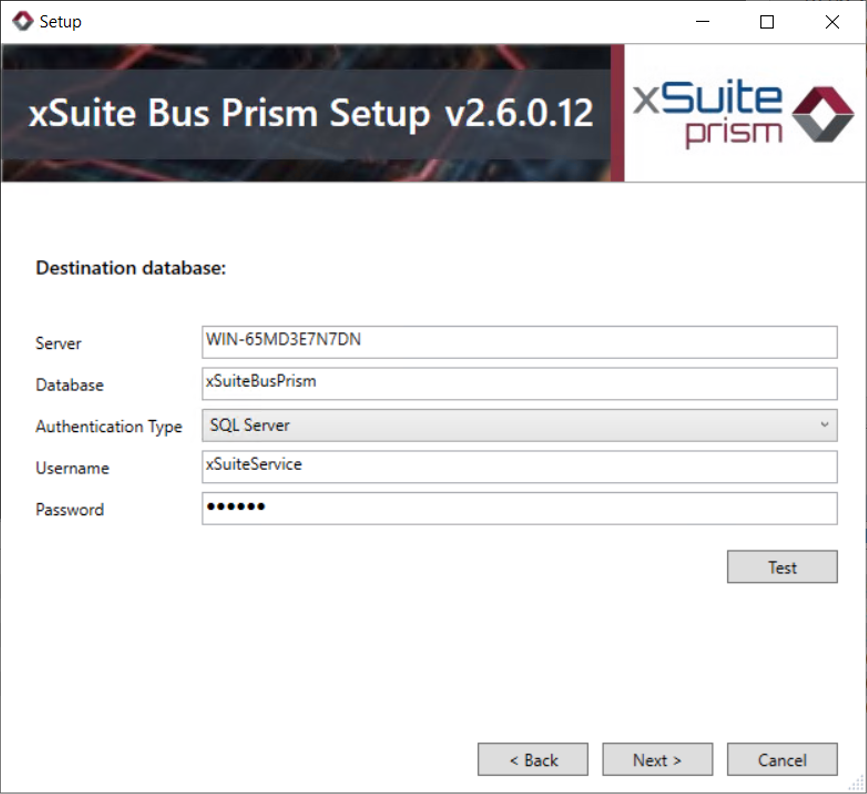
Set the values in the following fields:
Field
Technical description
Server
Specifies the database server on which the xSuite Bus database is installed.
Database
Specifies the name of the database.
This database is either set up during installation or must be set up by a server administrator.
Authentication Type
Defines the authentication type.
The following options are available:
Windows
SQL Server
Username
Specifies the database user name to use for setting up / using the database.
If SQL Server is selected as the authentication type, the user specified here must have the server role
sysadminon the SQL server.Default user name:
xSuiteServicePassword
Specifies the password of the database user.
Click Test to check the connection to the SQL database.
Click Next.
➣ The website deployment settings options will open.
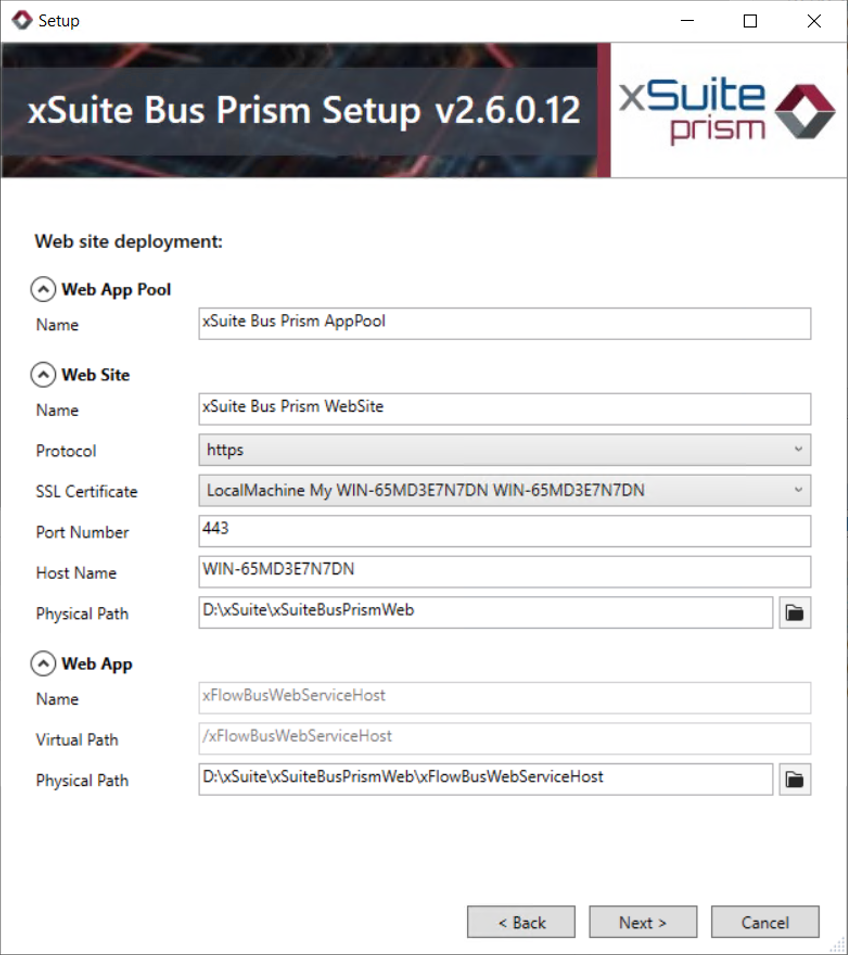
Set the values in the following fields:
Tab
Field
Technical description
Web App Pool
Name
Specifies the name of the xSuite Bus application pool.
Under this name, a site is created in the IIS where the web services are installed and registered.
Web Site
Name
Specifies the name of the xSuite Bus web service.
Caution: When using the xSuite Bus setup routine to install an xSuite Bus proxy that is to serve the communication between xSuite Bus and xSuite Workflow Engine, the web page of the previous xSuite Core installation must always be stored here.
Protocol
Defines which protocol is used.
The following options are available:
http: no SSL encryptionhttps: SSL encryption
SSL Certificate
Specifies which SSL certificate to use.
Prerequisite: The value
httpsis selected in the Protocol field.This field is not relevant for an installation without SSL encryption. Leave it empty.
Port Number
Specifies the port of the xSuite Bus web page.
Physical Path
Specifies the file path for installation of the local components of the website.
Web App
Name
Specifies the name of the web application.
Virtual Path
Specifies the virtual path of the web application on the xSuite Bus web page.
Physical Path
Specifies the file path for installation of the local website components.
Click Next.
➣ Setup is now complete.
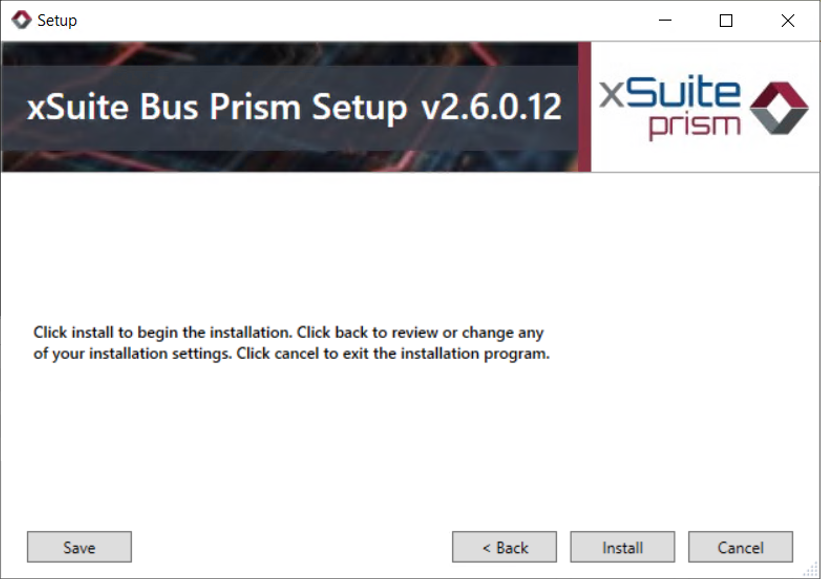
Click Install.
Notice
The Save button allows you to save all installation settings in a DPS file.
➤ The installation will be executed.