Changing column display for your views
When you click "Go" and initiate a search in the Invoice Monitor, a hit list showing all documents matching your search criteria will appear. You can control which columns are displayed in the table and how these columns are arranged. This is done in the view settings.
Open the Invoice Monitor.
In the hit list, click the button
 Table settings.
➤ The dialog View Settings will open.
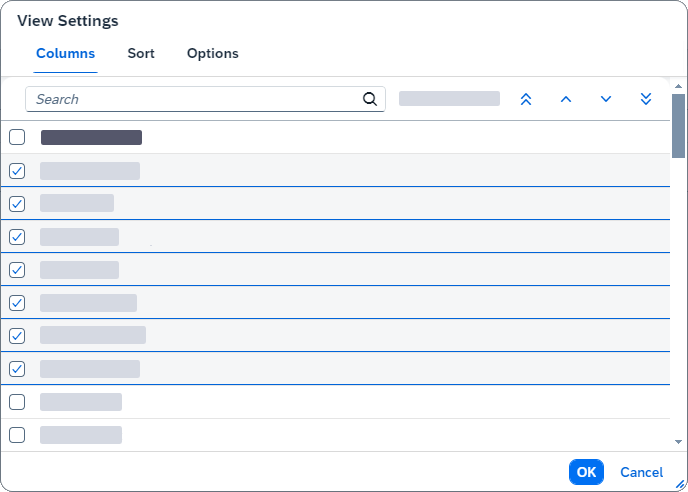
Showing and hiding columns
Select the tab Columns.
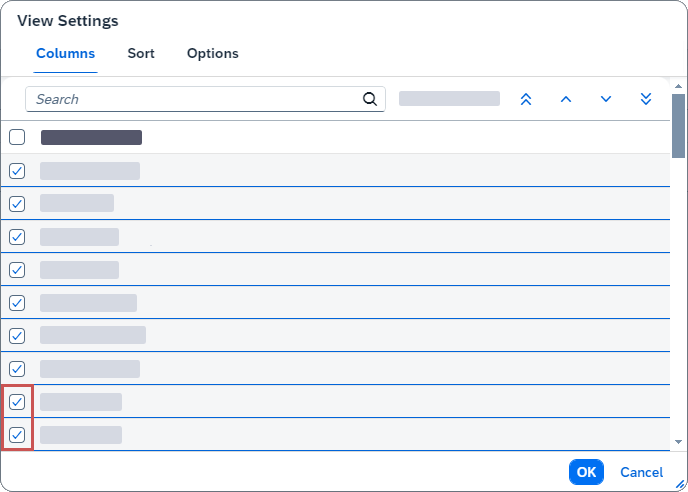
Activate the checkbox for each column to be displayed in the table.
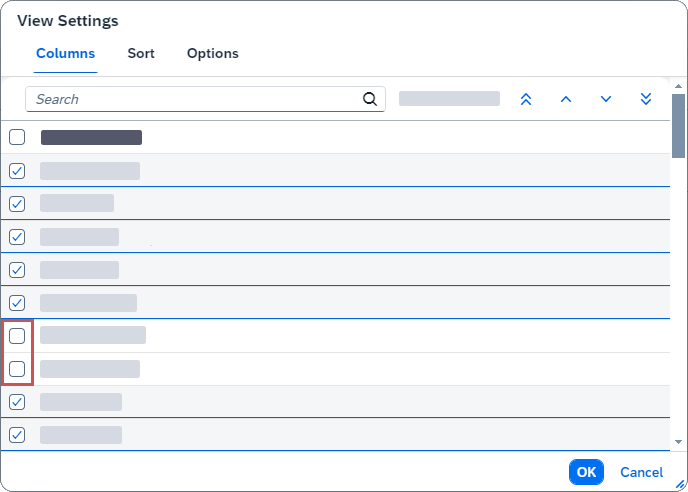
Deactivate the checkbox for each column to be hidden in the table.
Click OK.
➤ The columns will be displayed as specified.
Rearranging columns
Select the tab Columns.
Notice
When in View Settings, the Show selected option to view only the names of those columns that are currently displayed in the view.

Click on a column that you want to move.
➣ The column has now been highlighted.
Click one of the following buttons:

Moves the column to the first position in the table.

Moves the column one place to the left in the table.

Moves the column one place to the right in the table.

Moves the column to the last position in the table.
Notice
Alternatively, you can drag and drop the selected column to the desired position.
Click OK.
➤ The columns will be displayed as specified.
Sorting column contents in ascending and descending order
The data that appears in the hit list can be sorted by column, in ascending order or in descending order. Sort one column and then, within the primary sorting, sort subsidiary columns as needed.
Select the tab Sort.
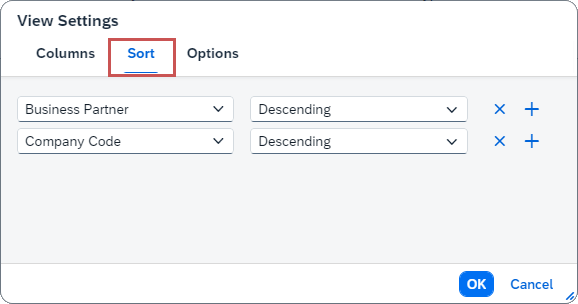
In the drop-down list on the left, select the name of column that you want to sort.
Notice
You can also sort the data of a column that is not currently displayed in the table.
In the dropdown list on the left-hand side, select a type of sorting (
ascendingordescending).Click OK.
➤ The table will now be displayed as specified.
Activating and deactivating table growth
If you activate "table growth," a limited number of entries table will be loaded, depending on the number you specify. If you deactivate "table growth," all table entries will be loaded at once.
Select the tab Options.
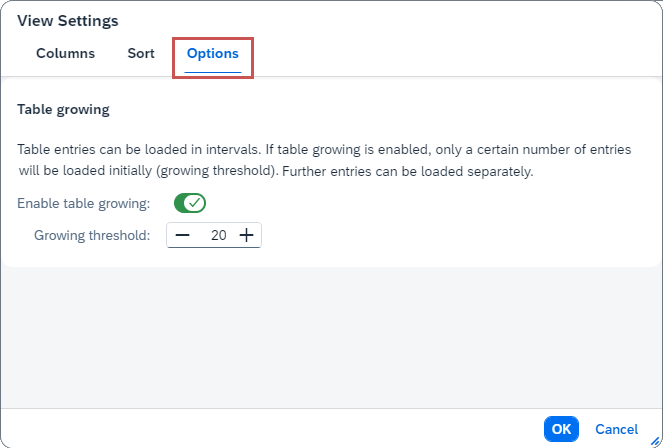
To load entries at intervals, activate the switch Enable table growing.
Notice
In the Growing threshold field, set how many table entries are to be initially loaded.
To load all table entries at once, deactivate the switch Enable table growing.
Click OK.
➤ The table entries will be loaded as specified.