Displaying documents in the viewer
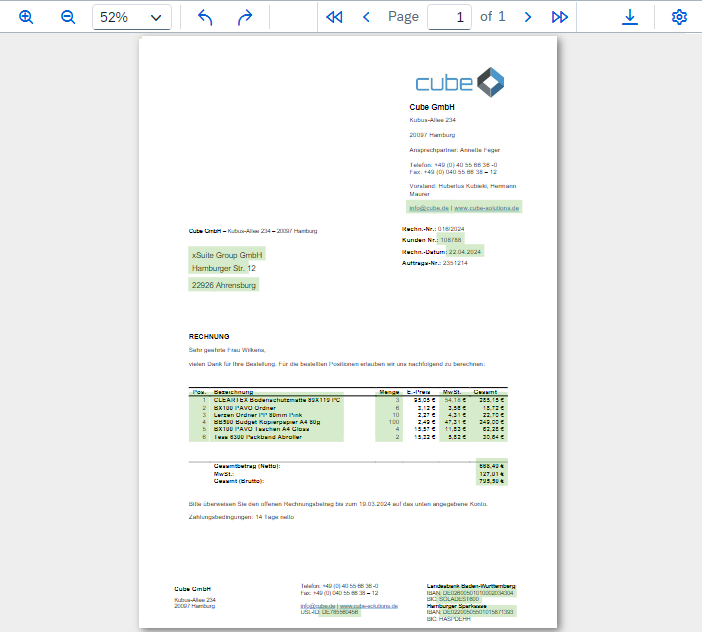
If a document exists for an invoice, it will be displayed in the viewer. In the viewer, you can view the document and highlight any found field values, and transfer them directly to the respective invoice fields in the invoice workspace.
 |
The viewer has a function for highlighting field values found. Found field values will be displayed in the Fields column. You can choose to have all recognized field values highlighted, or just individual, selected field values.
Highlighting all field values found in a document
Select
 Open viewer menu → Highlight field values found.
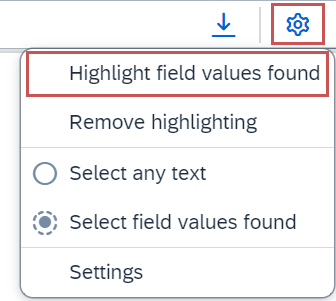
➤ All field values found will now be highlighted in the document.
Highlighting a single found field value in a document
Click on the Fields tab.
➣ A list of all available fields will appear. Fields for which a value was found will show the
 OK status.
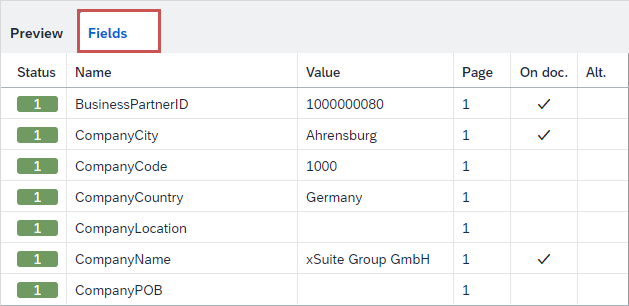
Click in the line of a field corresponding to a value found in the document image.
➤ The field value will now be highlighted in the document.
Values the document can be entered into an invoice field by drag-and-drop.
Transferring a found field value to a field
Select
Open viewer menu → Highlight field values found.➣ All found field values have now been highlighted in the document.
In the document, left-click on a found field value. Drag and drop it into the desired field.
➤ The value has now been transferred to the field.
Transferring a field value to a field
Select
Open viewer menu → Select any text.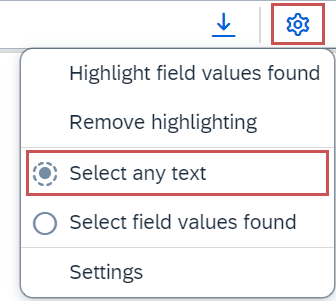
➣ You can now select any text in the document.
Hold down the left mouse button and select the value in the document that you want to transfer.
In the document, left-click on the selected field value. Drag and drop the value into the desired field.

➤ The value has now been transferred to the field.
If more than one value has been found for a field in the document, this will be indicated in the Fields tab for the respective field. You can highlight any alternative field values in the document.
Click on the Fields tab.
➣ A list of all available fields will now be displayed. The Alt. column will indicate how many alternative values were found for a field.
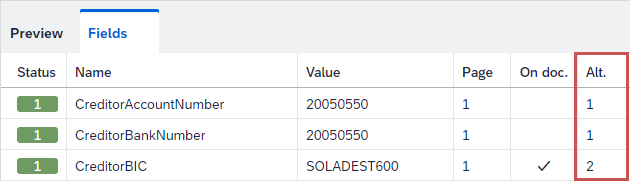
In the Alt. column of a field, click on the number of the alternatives.
➣ All values found for the field will now be displayed.
Go to
 show field.
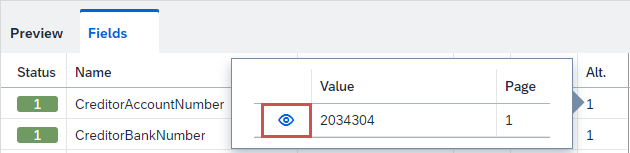
➤ The alternative value has now been highlighted in the document.
Settings for document display can be made in the viewer.
Select
Open viewer menu → Settings.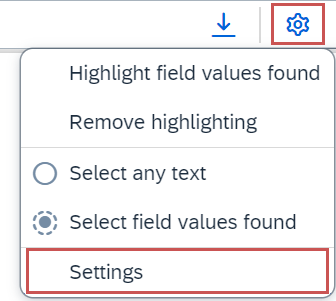
➤ The Settings dialog will open.
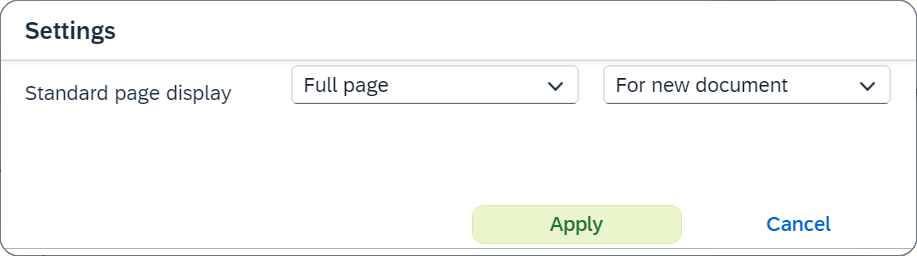
In the first drop-down list, select how documents are to be displayed in the viewer:
Full pageThe entire page of the document is displayed.
Fit widthThe page display adjusts to the width of the page.
Fit heightThe page display adjusts to the height of the page.
Original sizeThe document is displayed in its original size.
In the second drop-down list, select the documents for which the settings are valid:
NeverThe settings do not apply to any documents.
For new documentThe settings apply to documents just opened.
For new pageThe settings apply to new pages of the document.
Click Apply.
➤ The viewer settings have now been saved.