Sending a document
Once you have created or imported a document and finished editing it, you can send the document via one of the available networks. You can choose whether to send the document to a recipient outside of xSuite eDNA Helix ("Outbound") or within your xSuite eDNA system ("Inbound").
Caution
Before the document is sent, the system checks to make sure all required fields have been filled in. You can only send a document if all mandatory fields have been filled in.
Once the sending process has started, a validation check is performed. If this validation fails, the sending process is aborted and the document remains in the Document Hub with the status Error.
Notice
We recommend that you validate the document before sending it.
Go to the Document Hub menu item.
Click on a document in the document list.
➣ The document's data will be displayed in the main view.
Click Send.
➣ The Send Document dialog box will open.
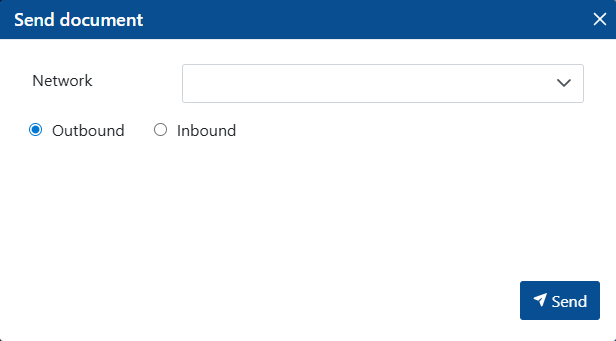
From the Network drop-down list, select the network through which the document will be sent.
Select one of the following options:
Outbound: The document is sent to a recipient outside of xSuite eDNA Helix.Inbound: The document is sent within your xSuite eDNA system.
Click Send.
➤ The document has been sent. It is no longer displayed in the document list. If you selected the
Outboundoption, the document will be displayed in the Outbound Monitor. If you selected theInboundoption, the document will be displayed in the Inbound Monitor.Tip
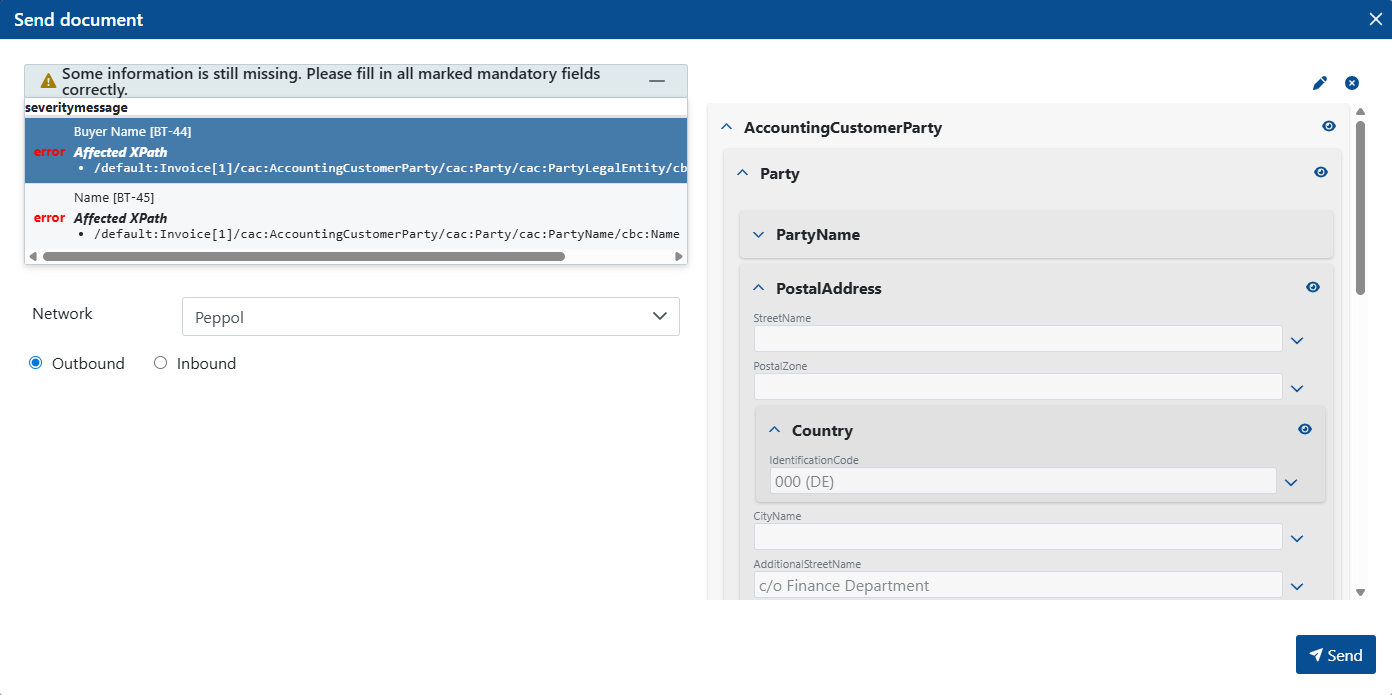
If the validation of required fields detects missing field values, the error messages are displayed in a table at the top of the dialog box.
To open the relevant field, click on an error message in the table. The relevant field and the corresponding section will be displayed. You can edit the fields directly in this view and save your changes.